Expert Guide to Preparing Your Camping Accommodation for the New Season
We hope your caravan, motorhome, trailer tent or folding camper will have been prepared for winter hibernation as indicated in the our Expert Guide Winter Care for your Caravan. Even if you've taken all of the recommended steps to care for your van there are many reasons why your unit may have deteriorated after a spell of inactivity. A check over is always advisable before setting off on your first trip of the season.
Safety first
Safety must be the priority and the Club recommends an annual service carried out by a workshop in the Approved Workshop Scheme (AWS).
The scheme details what is required for a good service and is appropriate for caravans and the habitation area of motorhomes. For motorhomes a base vehicle service is also recommended with an appropriate garage. Many Approved Workshops will also be able to undertake the requirements for checking the road-worthiness of a trailer tent or folding camper, or you could use a National Trailer and Towing Association (NTTA) trailer specialist.
It should be noted that a standard AWS service does not include a fridge service, which may be a requirement of the fridge manufacturer. Nor does it include a full inspection of any 230V electrical system, which is recommended to be undertaken every three years, although it is not a legal requirement.
If you can arrange for a service to be undertaken just before the start of the season this is ideal. However, if service schedules relating to your warranty conditions dictate otherwise, it is worth undertaking the following checks before setting off.
![]()
Please note the self-checks on the following pages do not replace the need for an annual service by experts.
Road safety
Wheels and tyres
Wheels and tyres are fundamental to road safety so carry out a visual check for any cuts, cracking, bulges or nails over the whole tread area and sidewalls.
The legal minimum tread depth is 1.6mm as for cars, but more often than not caravan and trailer tyres need to be replaced because of deterioration due to age rather than tread wear. The Club recommends leisure vehicle tyres should be replaced ideally every five years and certainly not be left for more than seven years. Further information is available in in our Expert Guide Caravan and Motorhome Tyres.
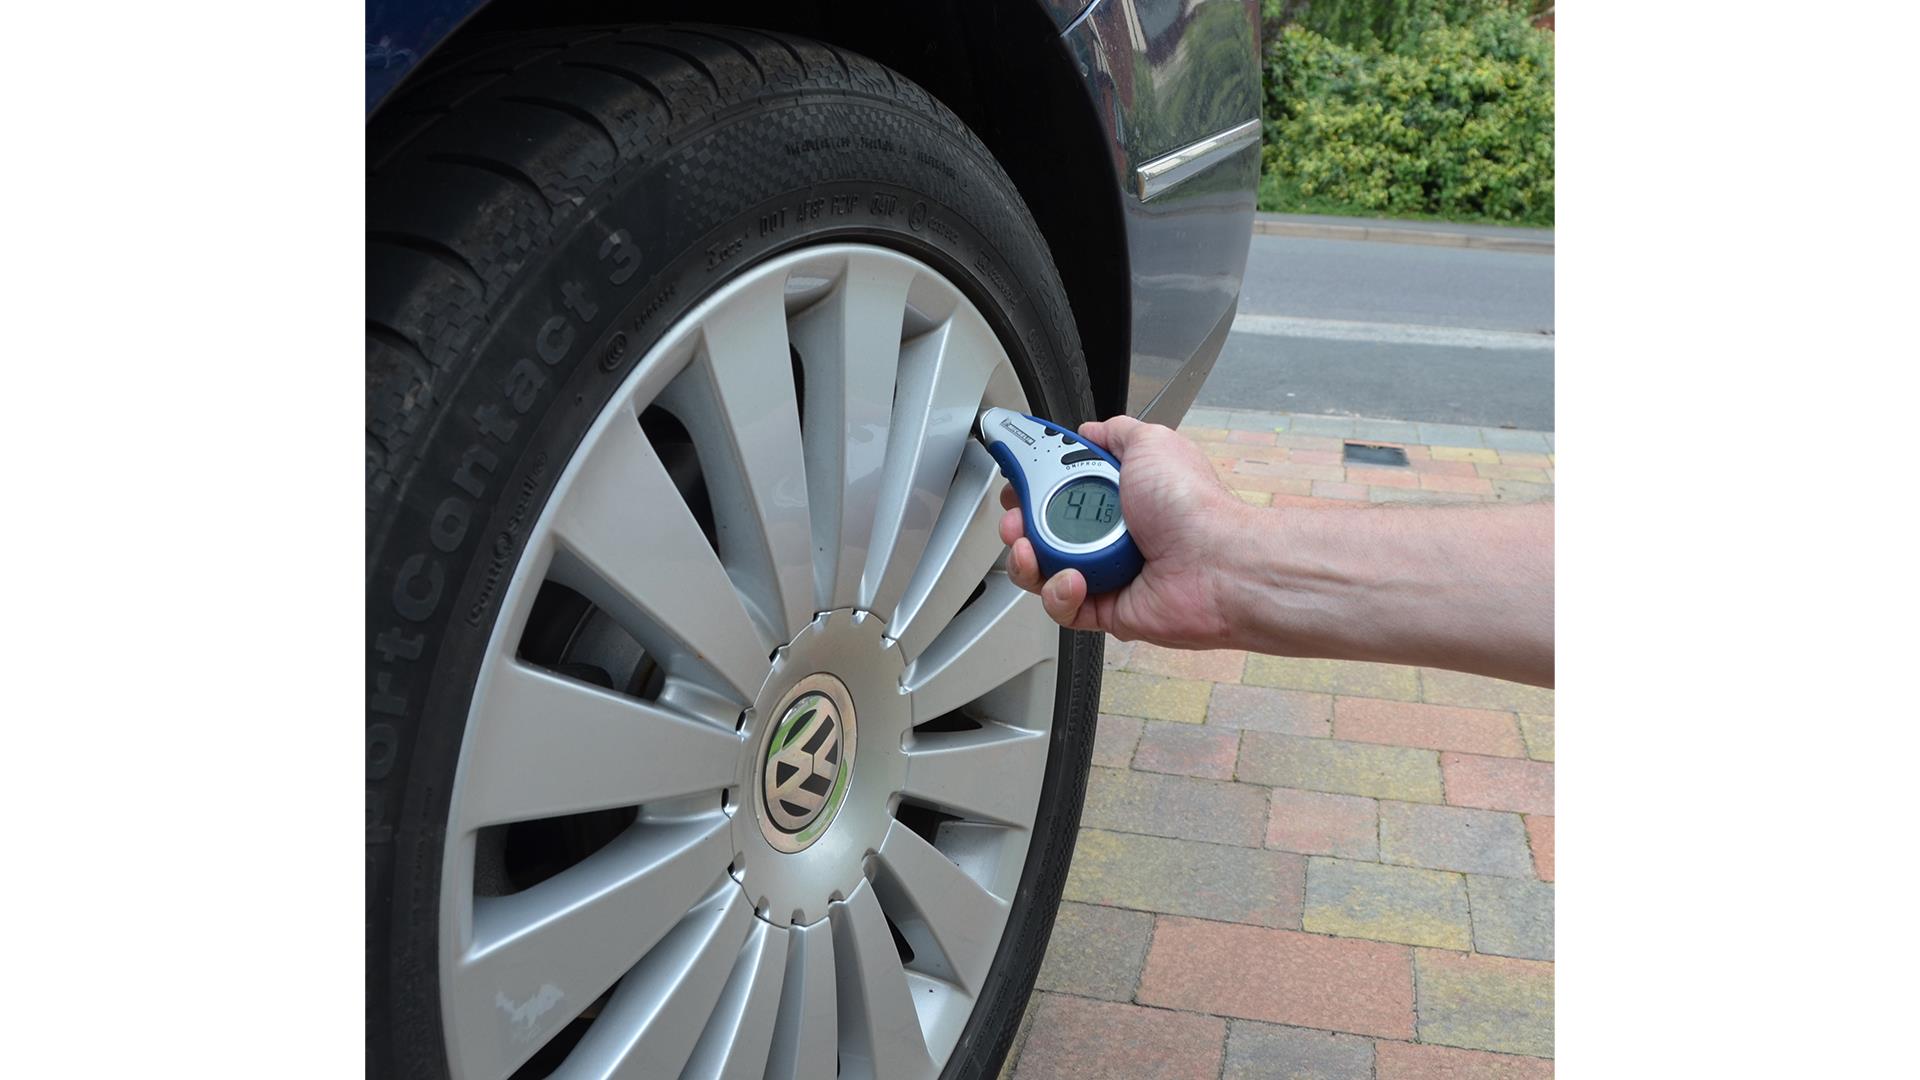
If the unit has been stored for some months without being moved the tyres may have developed flat spots indicating they need to be replaced. Raising the tyre pressures (within the identified rating) can help reduce this but remember to lower them before going on the road. Correct tyre pressures are vital so obtain a good quality pressure gauge to check them. Your handbook will indicate the recommended tyre pressures, but if the tyres have been replaced – or you have bought a second-hand unit – check the specification of the tyre on the unit is the same as in the handbook. If it is different then contact your local dealer or the Club’s Technical Help Desk for the correct pressures. Do not forget your tow car may well require its tyre pressures to be increased when towing.
It is always worthwhile checking the wheel fixing bolts with a torque wrench before setting off. Consider marking the bolts or fit a reusable indictor so you can monitor if movement occurs.
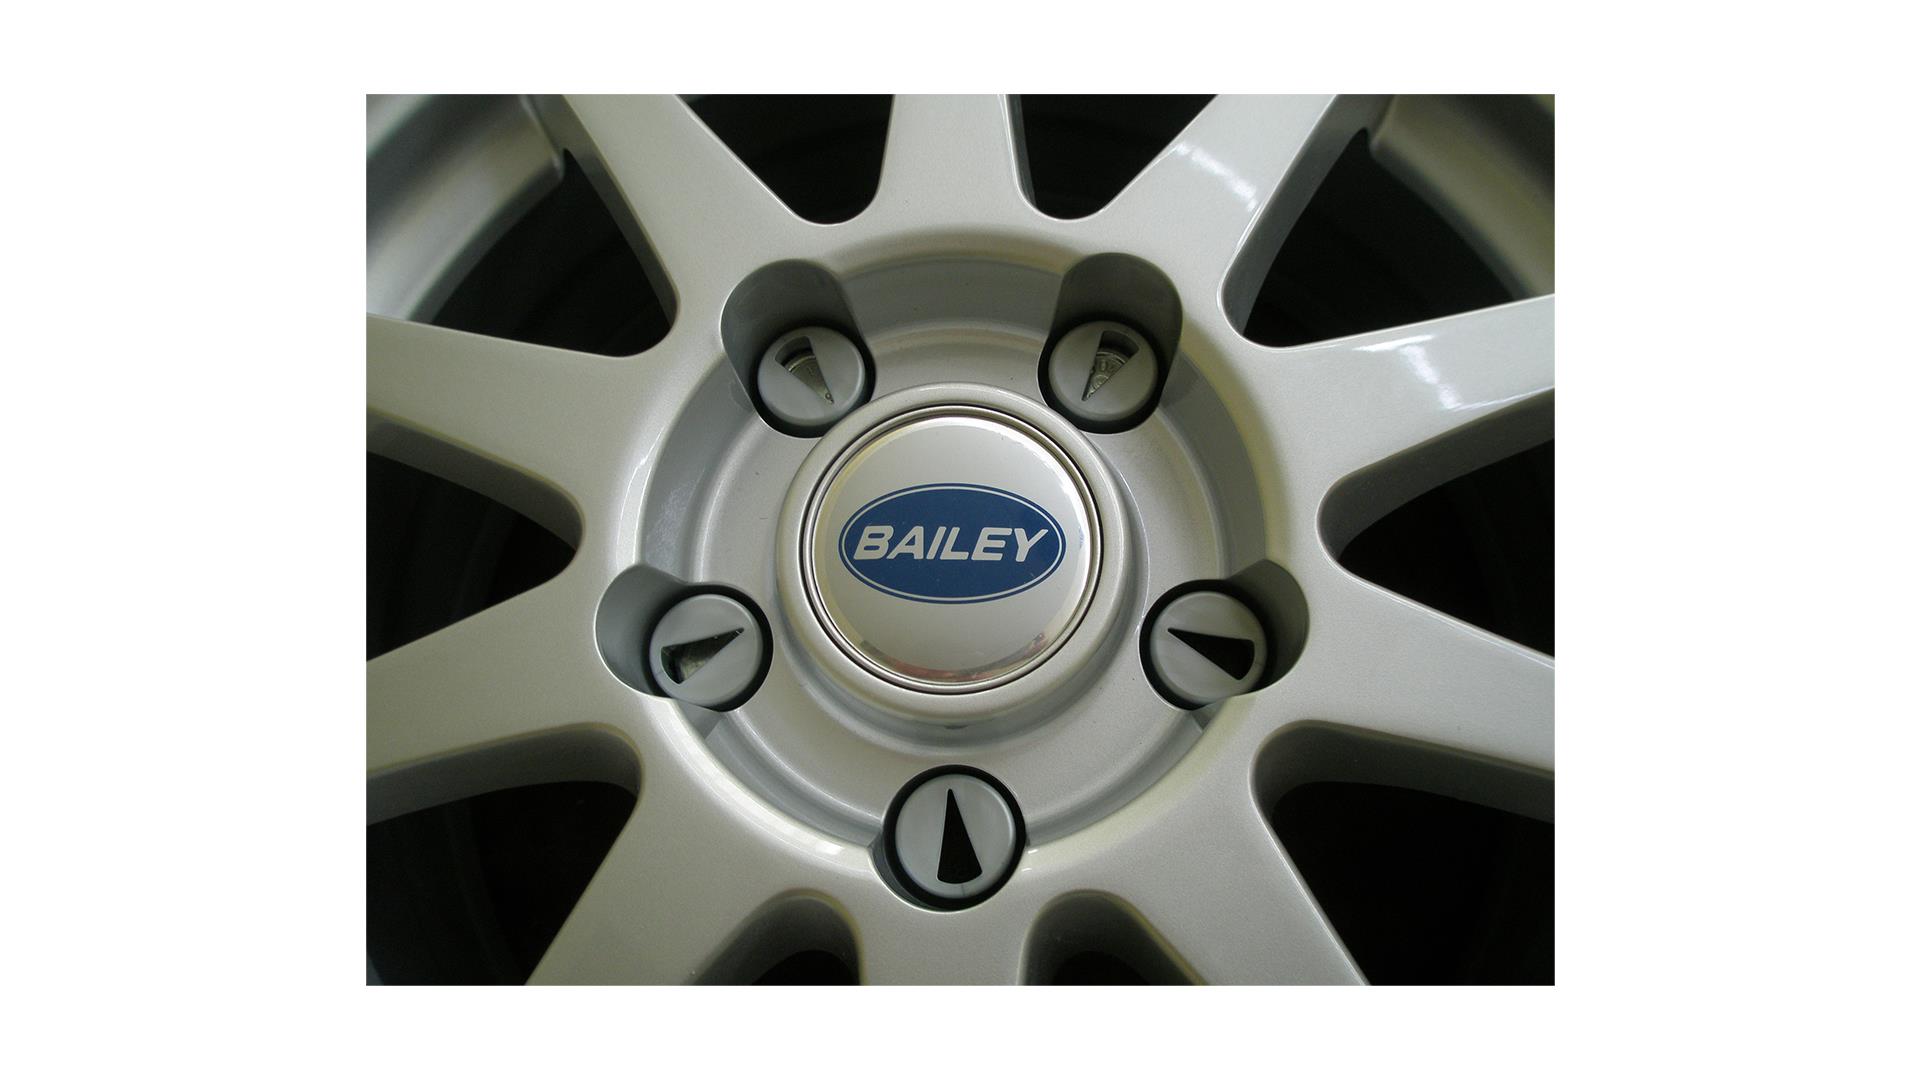 Milenco wheel bolt indicators showing no movement
Brakes
If the handbrake has been left on all winter there is a chance the brake shoes may have seized on to the brake drums. Check the handbrake and make sure the wheels are free running when unbraked. With overrun braking mechanisms push in the hitch too.
Hitch and towball care
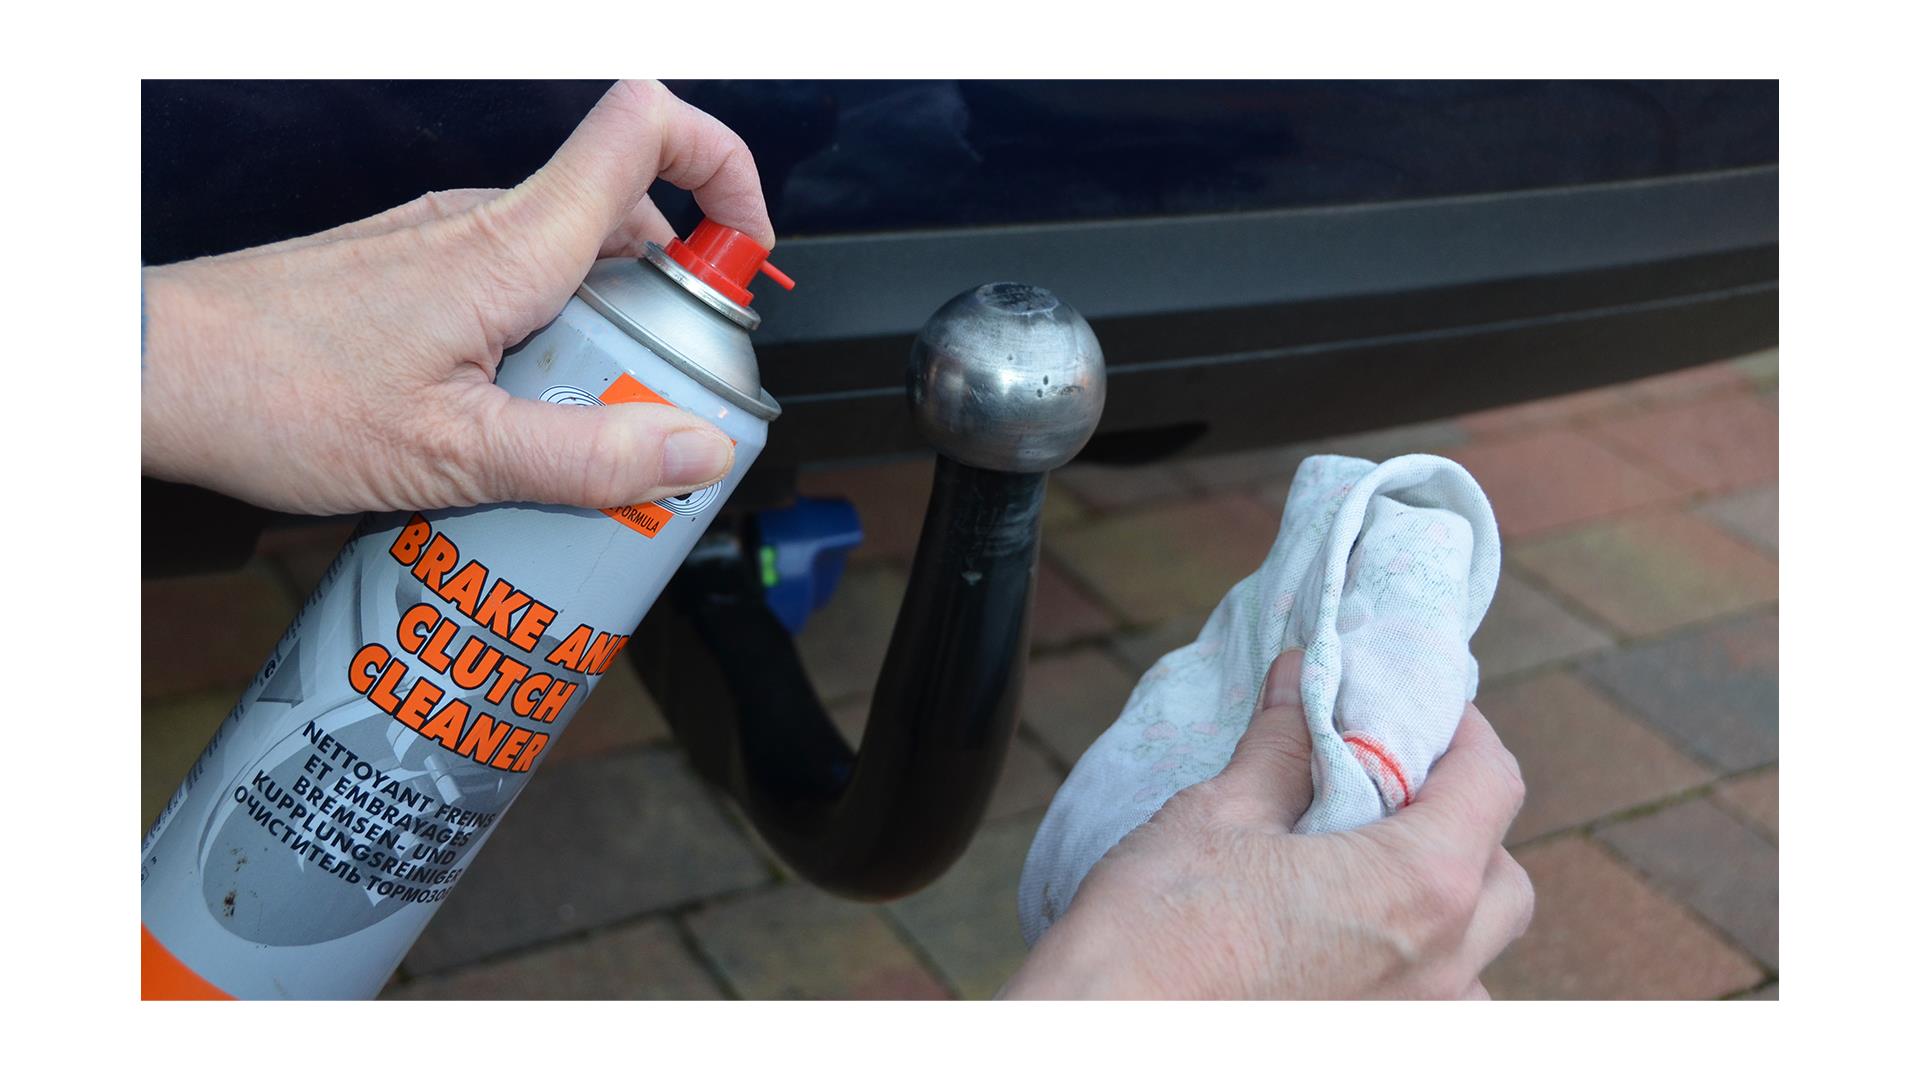
Grease on the towball and hitch attracts grit, so it is worth cleaning both and applying fresh grease at the beginning of the season. A dry towball (used with some types of stabiliser hitch) should be cleaned with brake cleaner and any surface rust removed with fine wet-and-dry paper. Do not forget to check the friction pad wear guide on your stabiliser hitch and wipe the pads with fine wet-and-dry paper. If the pads are deeply contaminated they will need to be replaced.
For both types of towball do not forget to clean the inside of the towball cover before replacing it. If you have a detachable towball check the receptor is clean and free of grit and corrosion and when fitted check for any movement of the towball. When not towing a detachable towball should ideally be removed from the receptor and stored in a clean bag. Check the fixing nuts have not come loose on fixed towballs. If you have any doubt about the security of the towball fixing or the towing bracket get it checked by a towbar specialist.
Lights and electrical connections
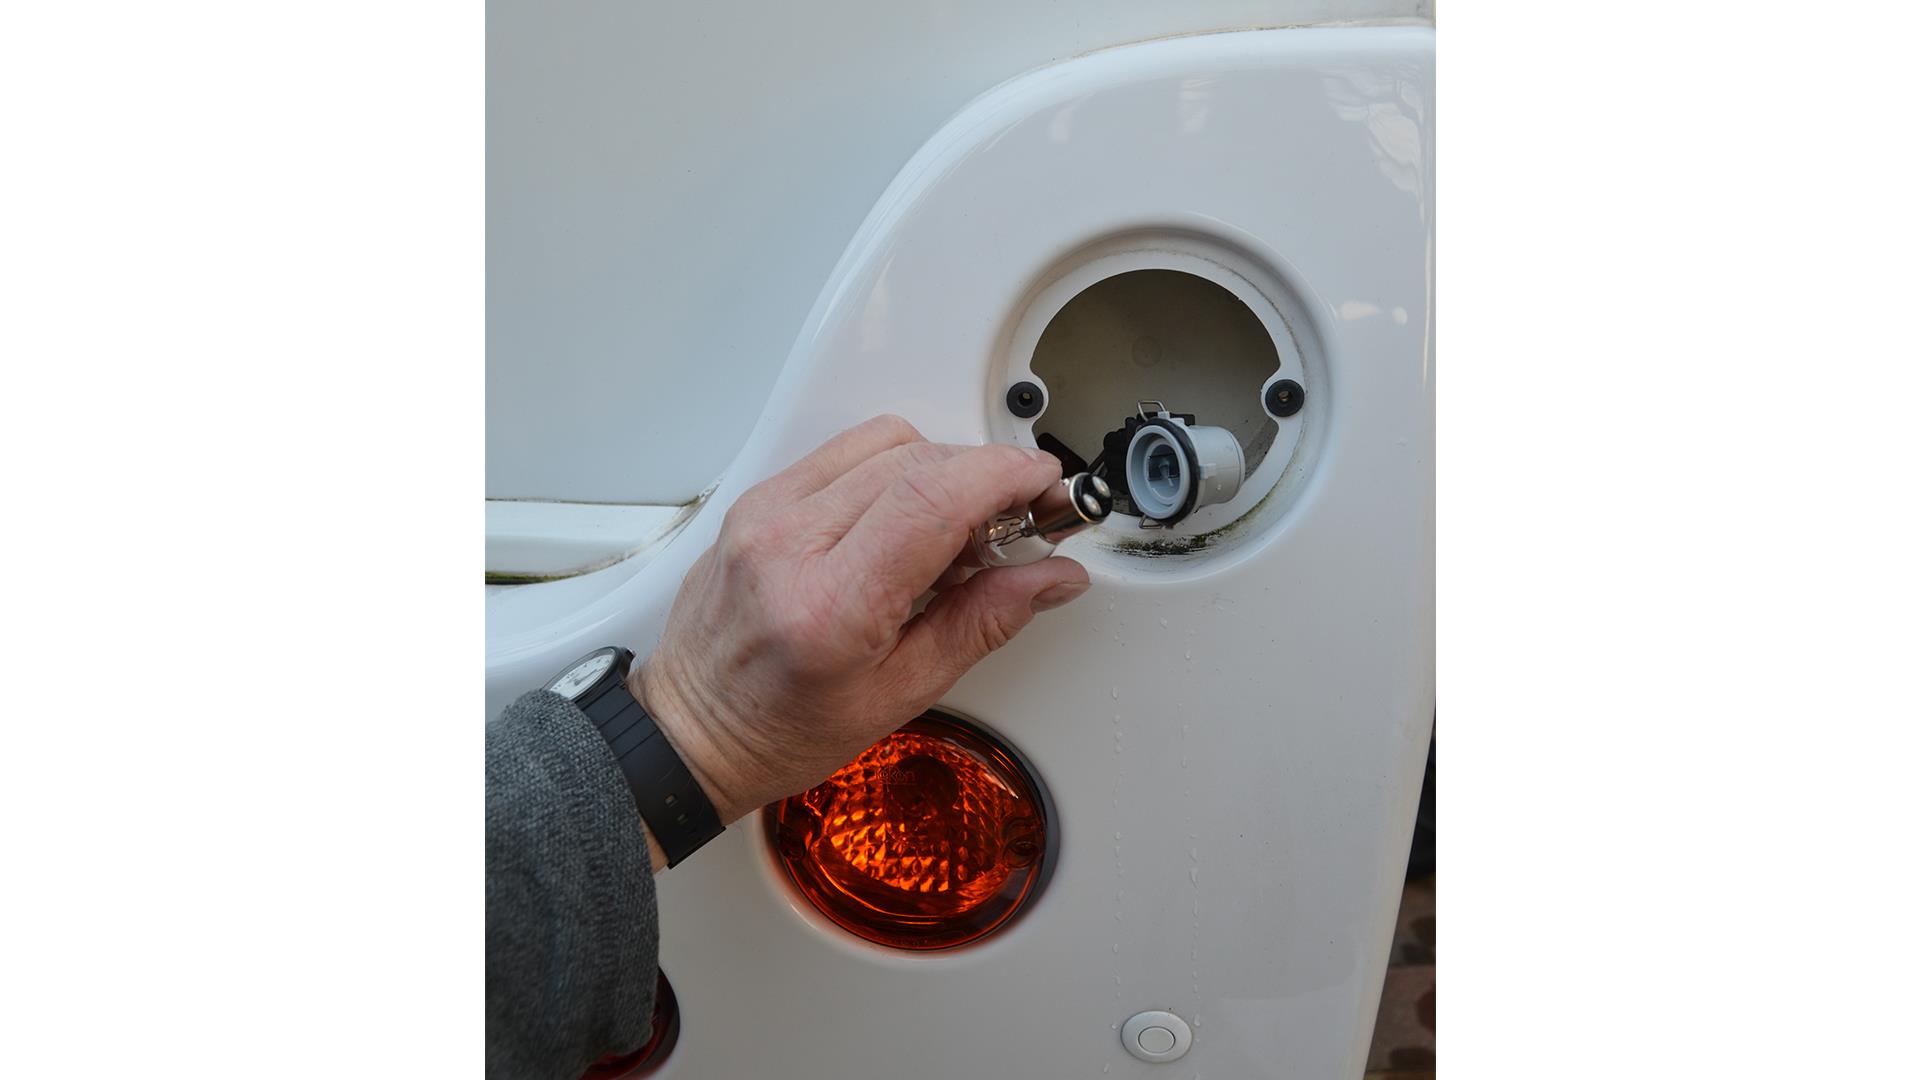
Rain has a way of getting into light fittings and electrical connections so check all your road lights are working correctly. Sometimes if a light refuses to operate all it needs is to have the bulb removed, cleaned and the contacts cleaned before being smeared with a little Vaseline and reassembling.
The electrical connection between tow car and trailer or caravan often gives rise to problems after winter storage, so it is always worth spending a few minutes to clean the pins and sockets. A quick spray with a water dispersant such as WD40 will help the cleaning process. Older seven-pin plugs and sockets may also benefit from light use of fine wet-and-dry paper to clean the exposed metal contact areas. Avoid the use of any abrasives on 13-pin plugs and sockets so you do not damage the rust-resistant finish on the pins.
With these checks done you are now ready to get on the road. For living in, the checks on the next page for the habitation area are advisable.
Services
Gas
There is always the danger of corrosion or spiders and insects seeking out winter shelter in a burner, so switch on each of your gas appliances in turn and check they work. Where you can see a flame burning yellow get the appliance inspected by a qualified person.
Check flexible hoses and have them fixed by an expert if there are signs of cracking or other deterioration. The normal recommendation is for hoses to be replaced every five years from the date of manufacture, which is stamped on the hose wall. If fitted, don’t forget to test your smoke and CO alarms.
Water
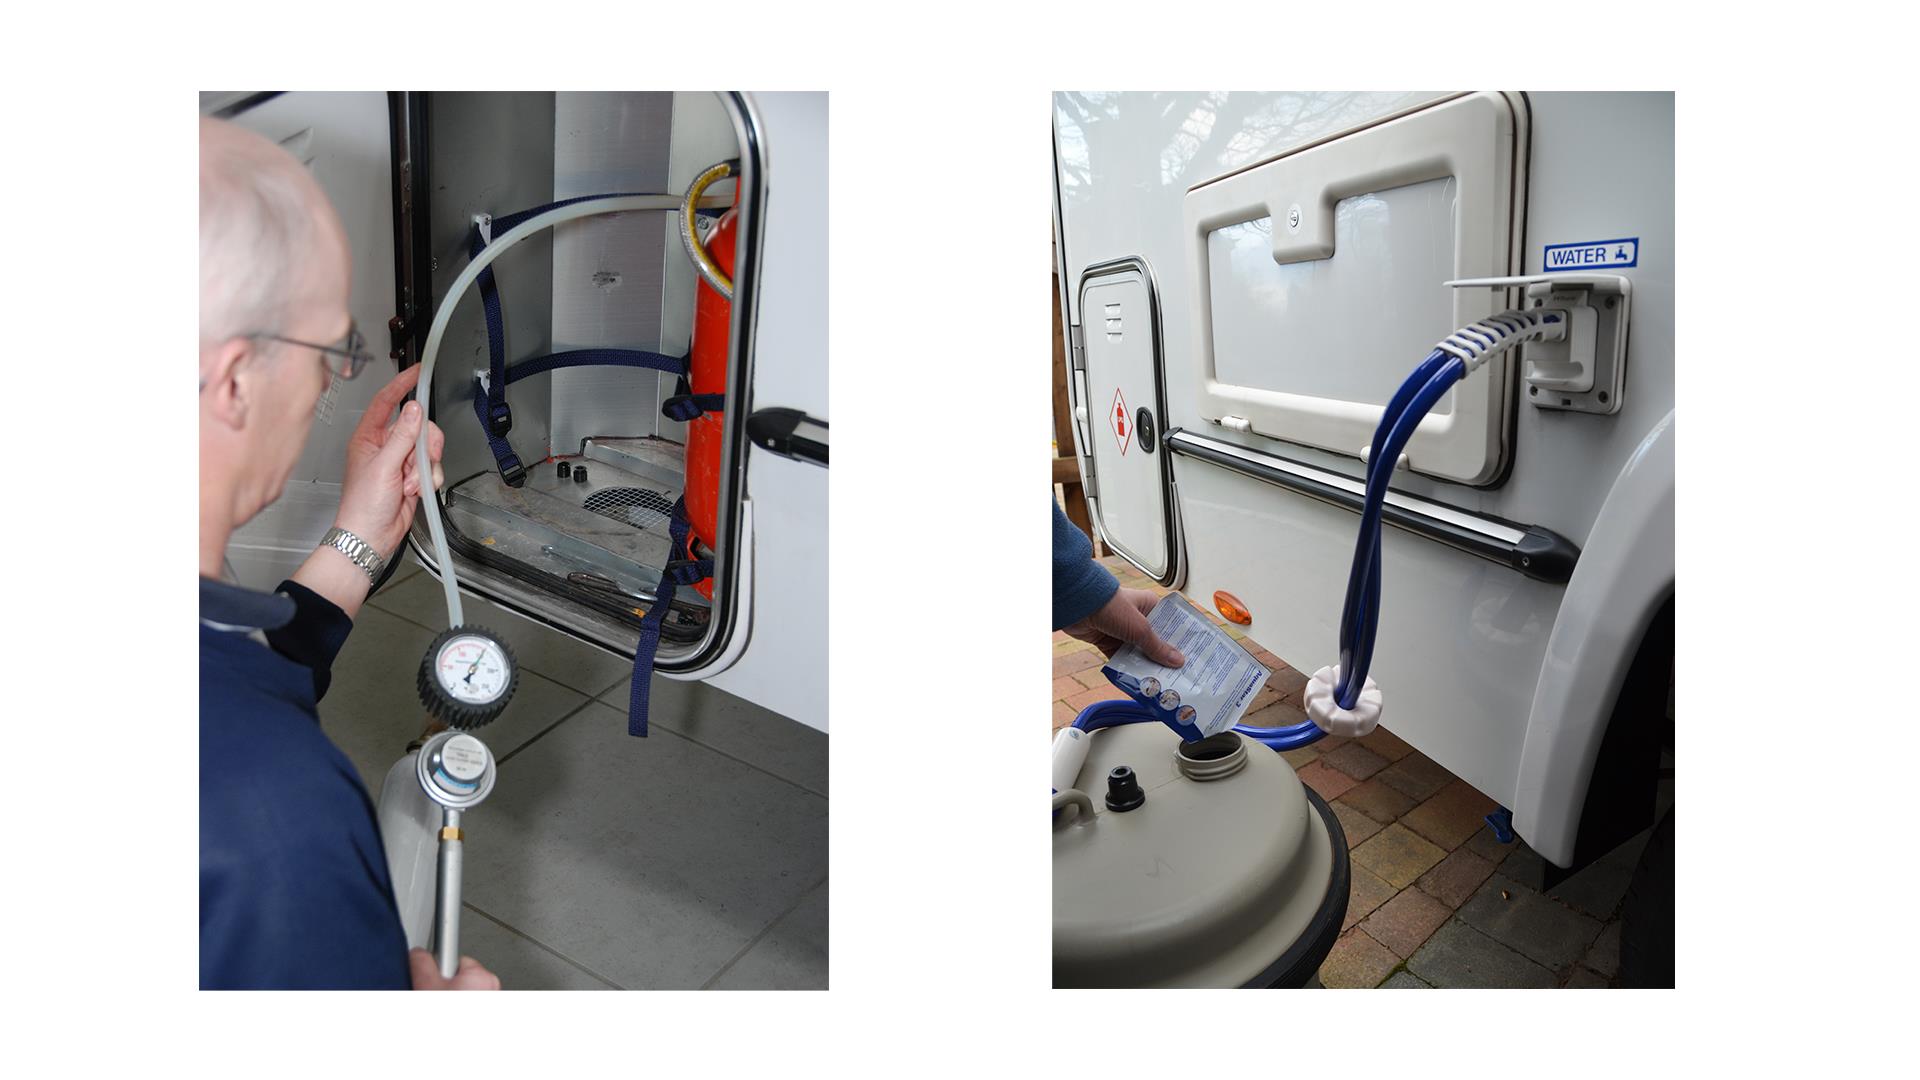
During winter storage there is always the possibility of frost damage to the water system and you may get bacterial growth in the pipes and water tank. Therefore checking functionality should be combined with a disinfection procedure to ensure any harmful bacteria in the pipes and freshwater tanks is neutralised. Limescale can build up in the pipes and particularly in the water heater where it will not only inhibit efficient heating of water but it can also attract bacteria. Annual descaling is therefore worthwhile – several proprietary descalers are available, mostly based on citric acid.
For many years campers have been using sterilising solutions – as used for babies’ feeding bottles – to disinfect their water systems. Products containing other bleach or sodium metasulphide should not be used.
Any water filter fitted will have a limited life and this is a good time to change it, but only after disinfecting, as filters will be damaged by the disinfecting agents.
Electrics
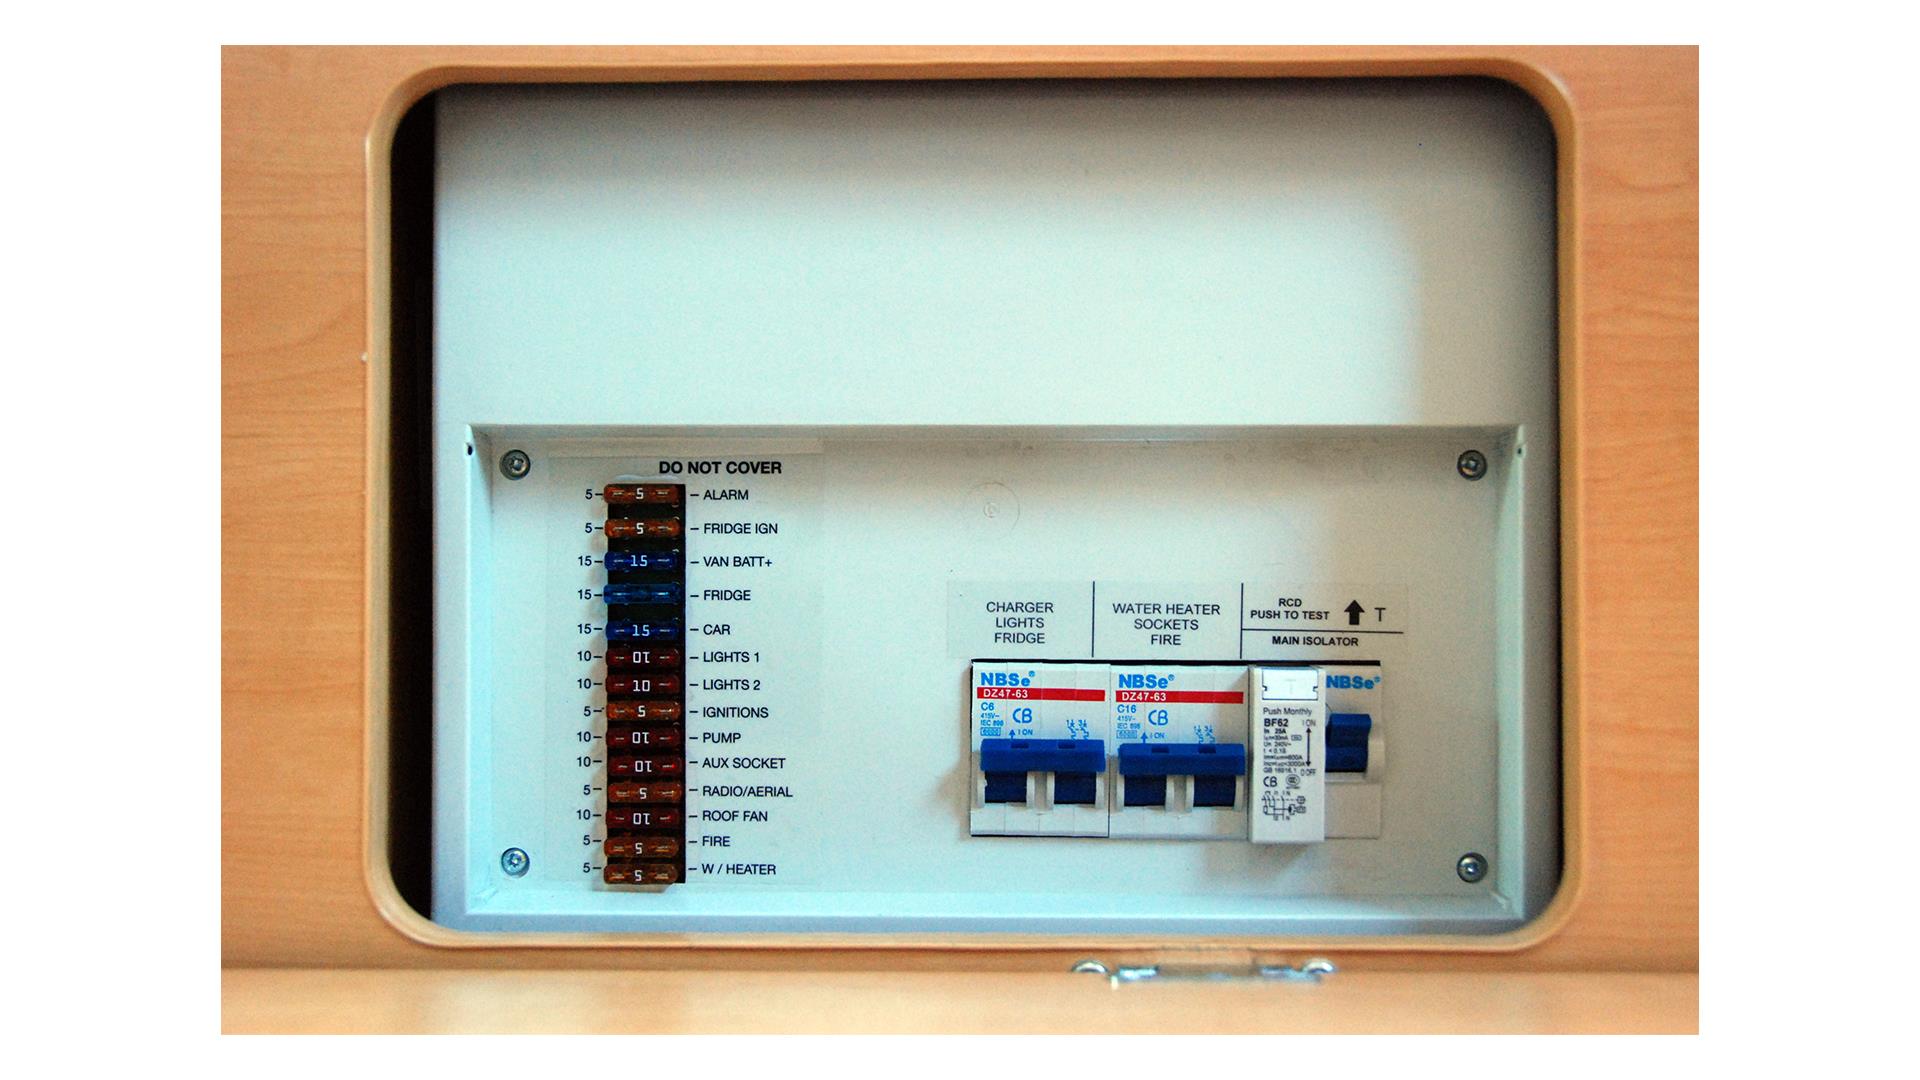
Check the operation of all appliances working on 230V and 12V electrics. Connect to a 230V supply if possible and press the RCD test button to ensure this safety-critical device is functioning.
12V operation without an electric hook-up is dependent on a good, well-charged battery. If the leisure battery has been left unattended for some time and is found to be flat, the chances of recovering it to its normal capacity are slim and you may need a replacement. Refer to A Guide to Leisure Batteries for further information. If you depend on a motor mover to move your caravan, now is a good time to check it works. Do not forget the remote control unit, which probably uses traditional batteries. They may need to be replaced.
Fresh water system start-up procedure
- Close all taps including your drain-down valve.
- Fill fresh water tank with tap water. If you are refilling after the winter or other prolonged lay-up add a disinfection agent to the water in accordance with the manufacturer’s instructions.
- Ensure your 12V electrical system and pump isolation switches are on.
- Fully open the hot water tap that is furthest away from the water heater.
- Wait for the water to run steadily from the tap. It may take some time as the water heater tank needs to fill up first.
- When even flow is achieved open up the next hot water tap closer to the water heater until smooth flow is achieved and repeat this for any further hot water taps.
- Close all hot water taps and repeat the procedure with the cold water taps, starting with the one located furthest from the hot water tank.
- With a smooth flow achieved, turn off cold water taps.
- Check for leaks including to the underside of taps.
- f you have filled with a disinfection agent, allow the solution to stand in the system for the recommended time and then drain down. Purge the system by running two or three tanks of fresh water through the system with all taps open at the midway point.
General checking
There are always things ready to go wrong so it is best to finish off with a general check throughout your unit.
Trailer tents
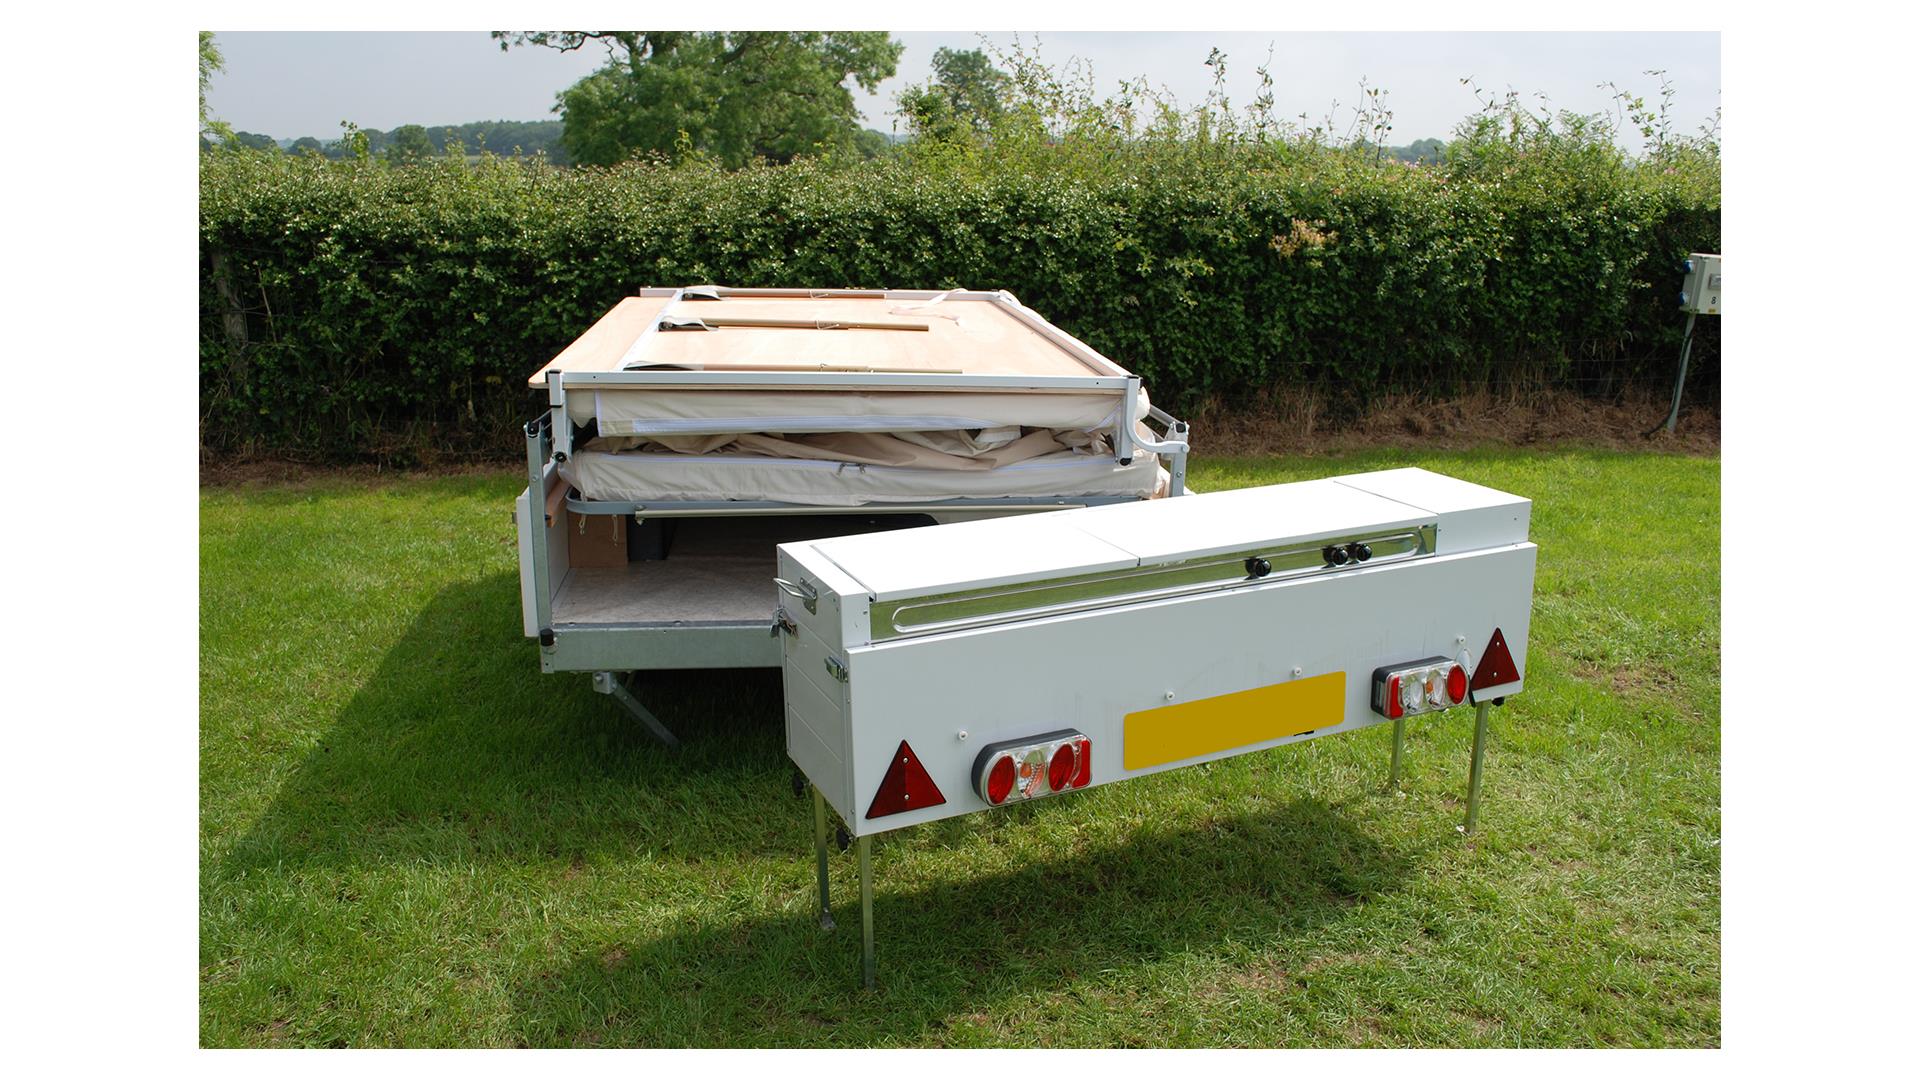
A priority with a trailer tent is to unfold it as if pitching it to ensure there is no significant deterioration of the tent fabric and poles. Look for signs of vermin attack, mould growth and general wear and tear that you may have missed when it was last used. Use a sterilising solution (as used for babies’ bottles) to kill any mould spores. Patching fabric or replacement guy lines, pegging rubbers or poles, repair kits and spare parts can be obtained from your local dealer or a specialist company, see our Guide to looking after your tent.
Locks
Mechanical locks and security devices should be checked for functionality. Never lubricate locks with heavy oil or grease as this will attract dust and grit that can cause havoc with the mechanism. If a lock is stiff try a spray of fine lubricant that is unlikely to leave much residue behind. For locks showing signs of corrosion, which can be white powder deposits, a specialist graphite lock lubricant may be better. If in doubt contact your dealer or lock manufacturer. For electronic alarms simply test for functionality as per the manufacturer’s instructions
External cleaning
External cleaning can be a chore especially after a winter lay-up unless you have fitted a breathable cover or used a waxy coating such as Fenwicks Overwintering Fluid.
Remove any cover carefully and inspect for any chafing damage on the bodywork and noting any deterioration in the cover or padding that protects vulnerable parts of the caravan or motorhome. Take care to pack the cover away carefully so the interior fabric is not soiled and completely dry – that way it will then be ready for the next use.
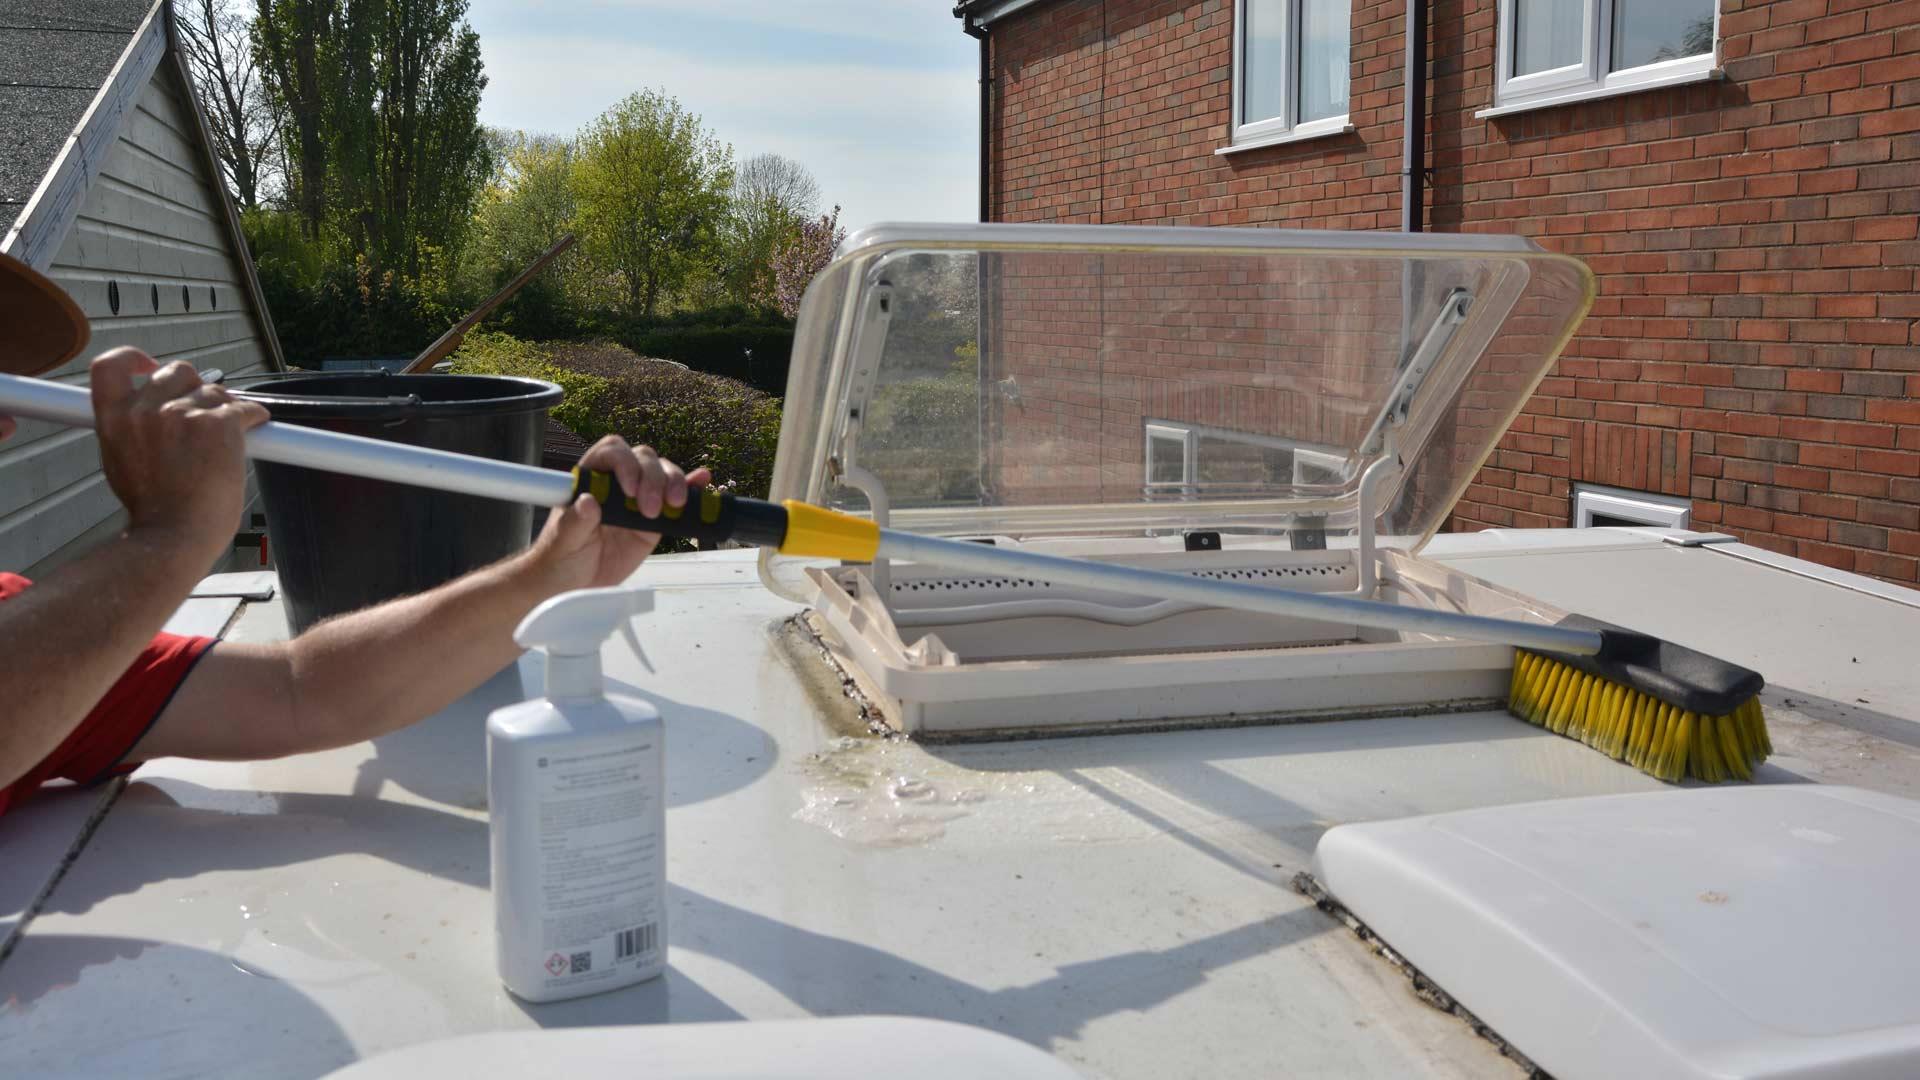
If your motorhome or caravan has been exposed to the elements give it a good wash down with a garden hose (not a pressure washer) to remove as much dust and loose detritus from the bodywork as possible and then wash with a shampoo that is designed for caravans and motorhomes. Remember many domestic cleaning products have the potential to cause degradation of some of the sensitive plastic materials on caravans and motorhomes and even caravan shampoos need to be well rinsed off sensitive areas such as ABS panels and acrylic windows.
Where there is heavy soiling or accumulation of mould, wash to remove the bulk of dirt and then gently but firmly make efforts to shift stubborn deposits and growths along joints and awning rails. An old toothbrush is ideal for removing the accumulation of mould or moss from edges around locker boxes and similar.
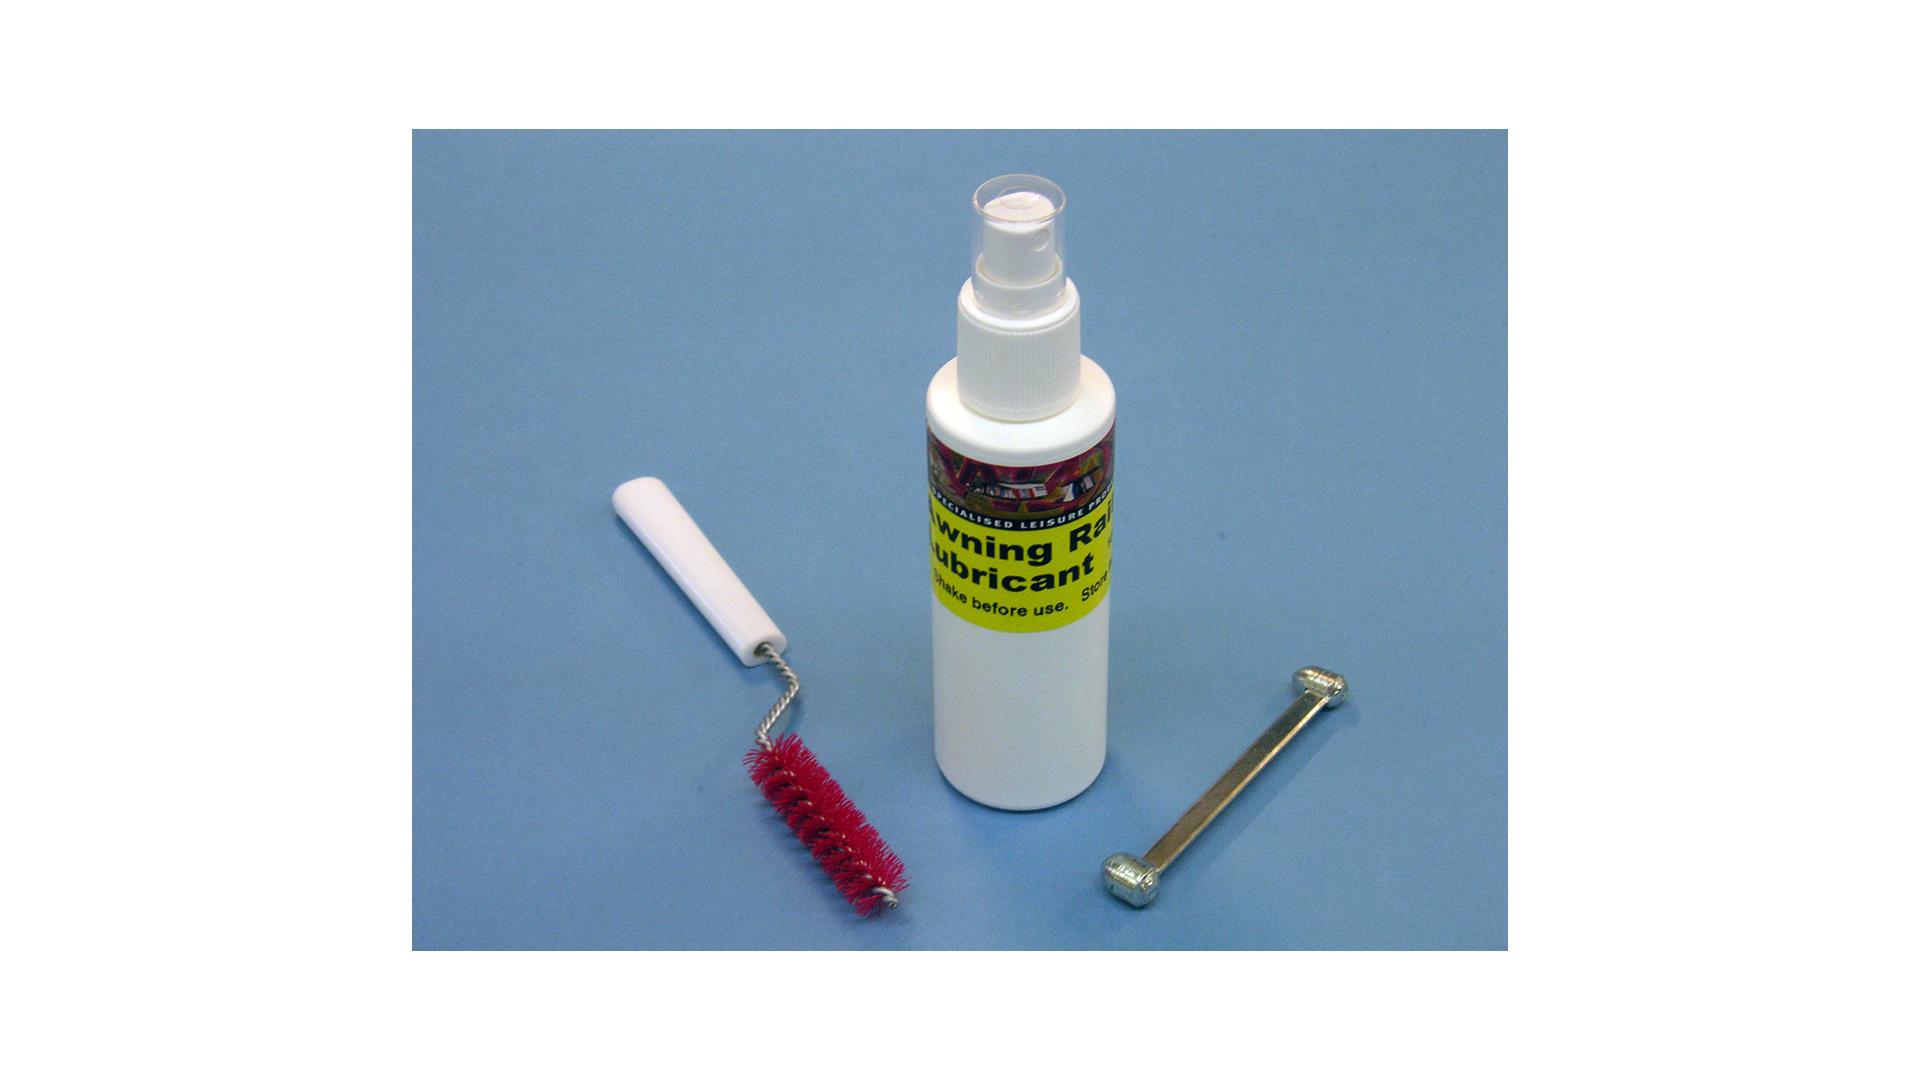
For cleaning awning rails you can buy a special brush to clear any accumulation of debris in the awning channel and a spreader tool to open out any lengths of rail that have been pinched in (see picture, above). A squirt of silicone lubricant in the channel will ease the passage of the awning beading.
Cleaning provides a good opportunity to inspect the exterior of your unit for any signs of damage or deterioration such as GRP or ABS panel cracking or loose grab handles.
Internal cleaning
Check that everything is clean and in good working order. When reloading ground-level lockers remember to keep the drop out vents in the floor clear.
Inspect all cupboards and lockers to ensure you have had no unwelcome visitors such as mice or squirrels. If they have established themselves it is usually noticeable by droppings and destructive efforts. Where there are signs of vermin activity in your unit check carefully for damage, particularly to electric wiring that could result in short circuits and be a fire hazard. Remember your insurance cover will almost certainly exclude vermin damage.
If any locker catches and hinges show signs of rusting or stiffness a squirt of water dispersant usually helps, but keep the spray off non-metallic surfaces. Upholstery may have a coating of dust so give it a good brush and vacuum. Check all windows open correctly without sticking to the rubbers. If necessary clean the rubber seals and when dry apply a little talcum powder to prevent further sticking. Check blinds for operation – as long as they have been left in the open position they should work satisfactorily.
The kitchens should have a good wash down with a mild antiseptic solution. The fridge is best cleaned with a soft cloth and a mild detergent – do not use soap or aggressive detergents that are abrasive or soda-based. Remember to leave the door on an open setting until you have the fridge in operating condition to prevent mould growth.
Cassette toilet
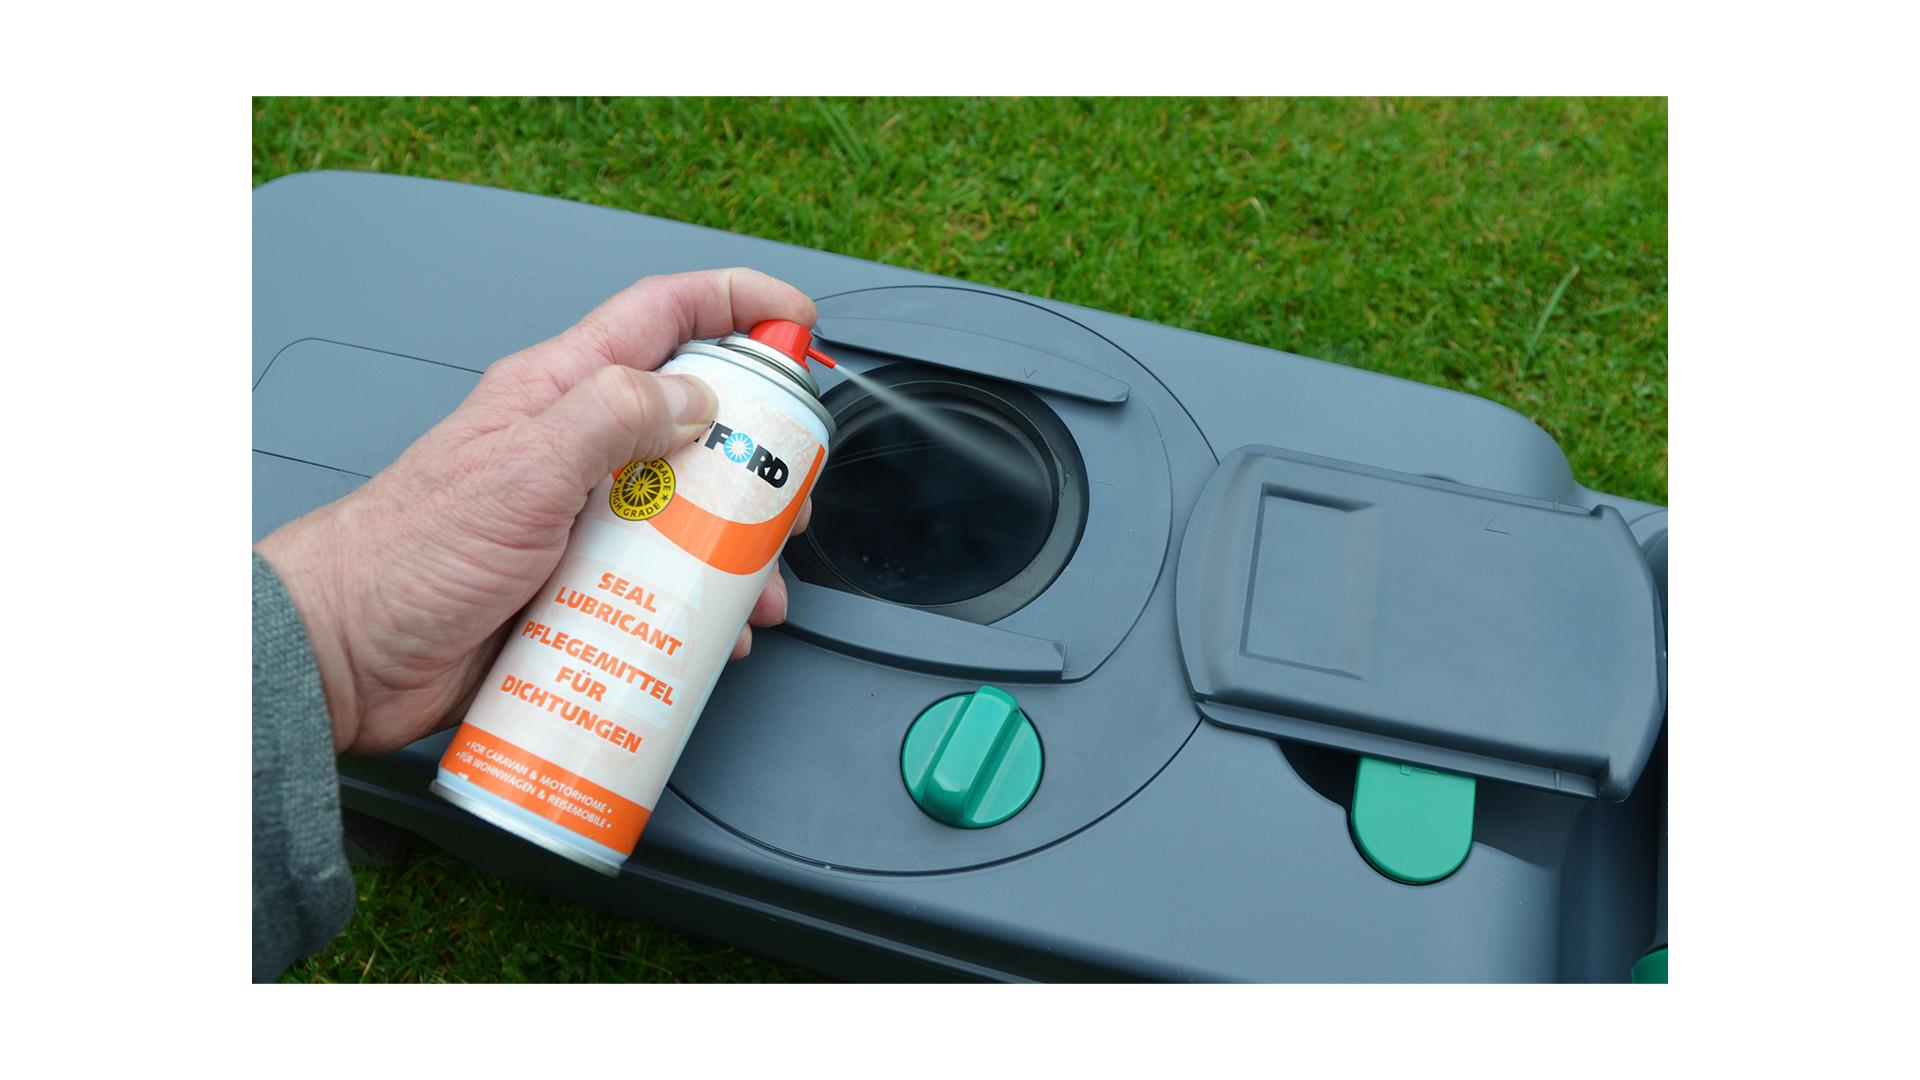
This should have been left in an empty condition with the blade valve open. It is a good idea to spray the blade valve seal with silicone seal lubricant to prolong its life and prevent sticking.
Fill up the flushing tank and check the flushing pump works correctly. If you notice black bits in the flush water, Thetford recommends filling the flushing tank with a solution of 50ml of bleach to 15 litres of water and leaving it to stand for 24 to 48 hours. The flushing tank should then be emptied (preferably not by flushing) and the tank flushed through with clean water before normal use.
Final checks
All that remains is to check you have loaded up your personal camping kit. It is useful to have a check list to avoid leaving anything out and the Club website can help with its Create Your Camping Checklist section where a standard checklist can be edited and extended to suit your personal requirements.
More information
A guide to caravan and motorhome tyres
A guide to winterising a caravan
A guide to winterising a motorhome
Winter touring in Caravans and Motorhomes
A guide to caravan and motorhome Servicing
A guide to looking after your awning
We have many related videos on our YouTube channel and more specifically: