- Advice
- Camping Tips
- How to waterproof a tent
How To Waterproof a Tent
The British weather is notorious for being unpredictable. You can pitch up your tent in the beautiful sunshine, but return to a downpour. Fortunately, tents you buy in the UK are designed to keep the water out, but depending on the type of tent you may need to re-proof it after a while to make sure it stays waterproof. This guide will take you through the step-by-step process of waterproofing your tent and the products you’ll need to ensure your tents waterproof is well maintained throughout the seasons.
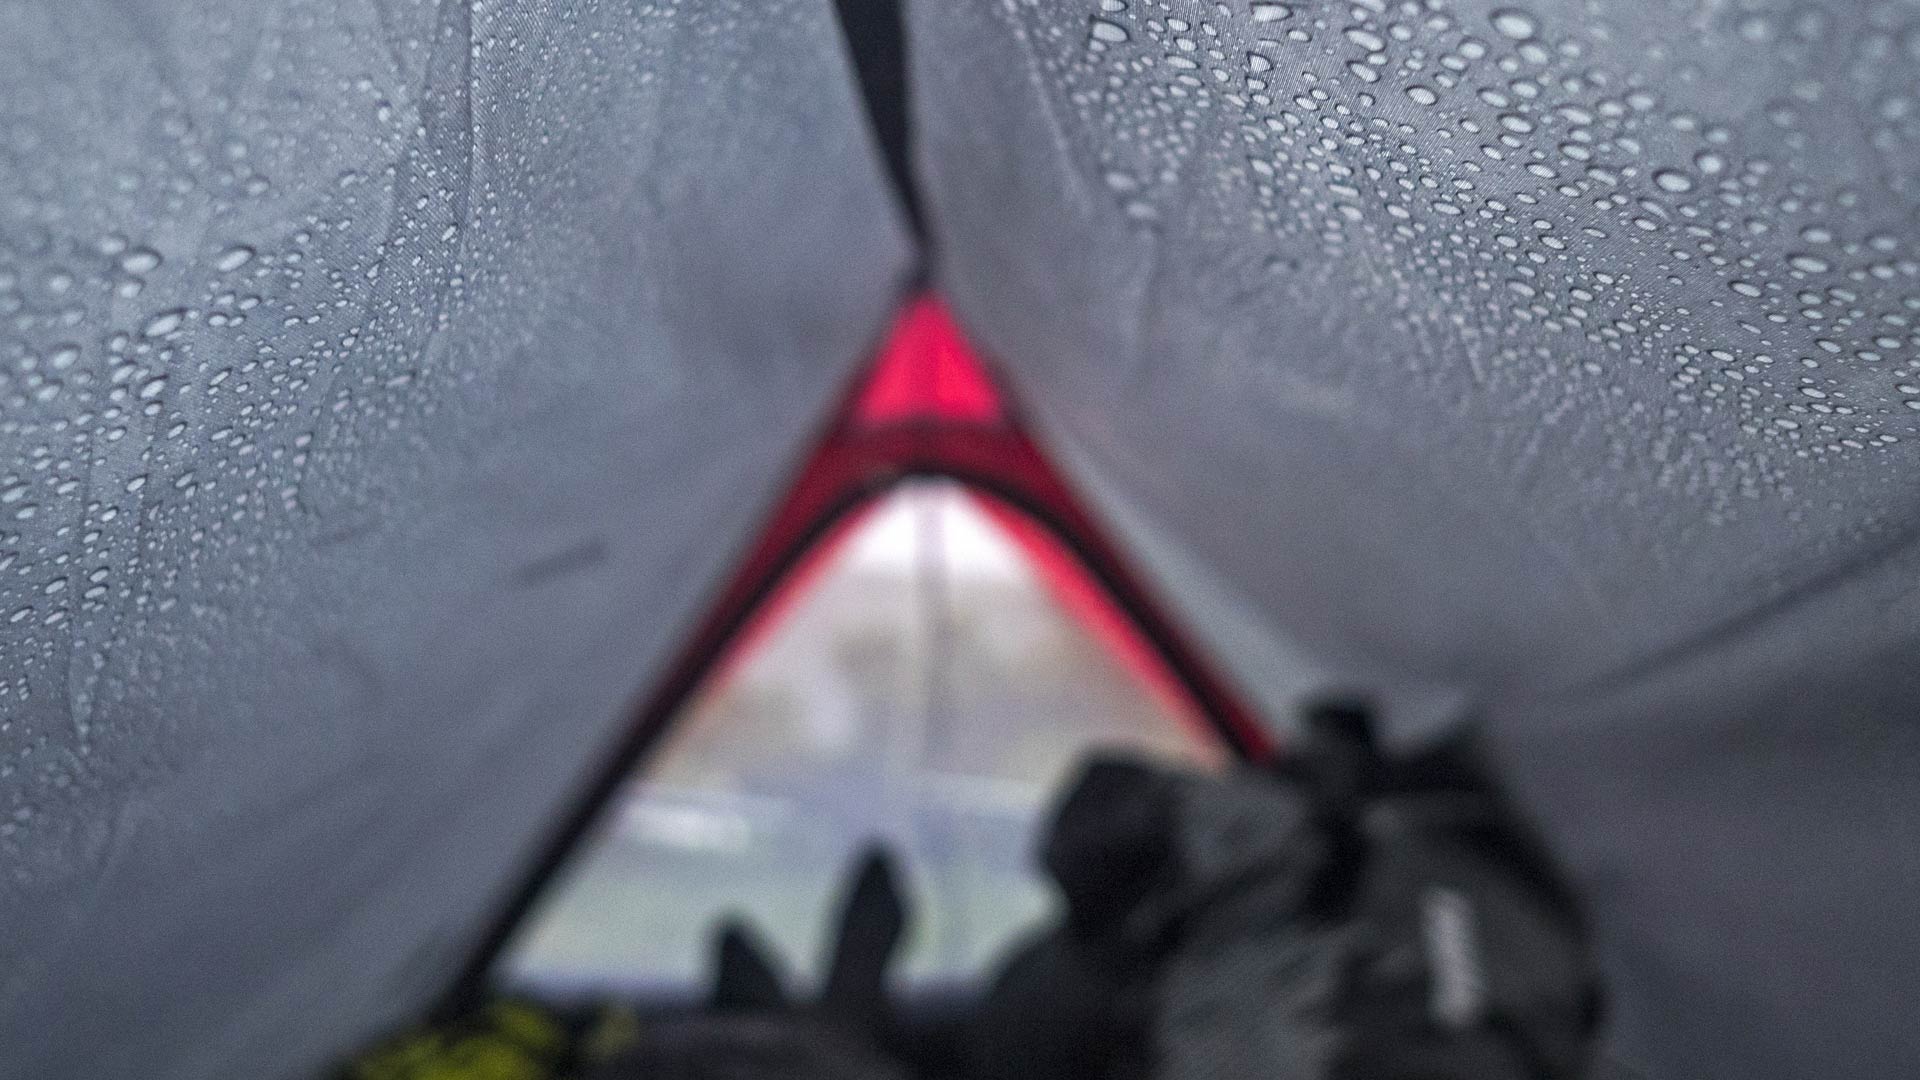
There are several things that affect whether rain will get into your tent, with leaking seams and uncovered zips being some of the worst offenders – water will get in wherever there is a gap. When you stay inside a tent, you’ll also be breathing out water. This can condense on the fabric and make it look as if there’s a leak in your tent, so check where the water is coming from before taking appropriate action to keep water out.
If the outer fabric of your tent (known as its flysheet) is made of a fabric such as polyester or nylon, it will have a coating on it to make it waterproof. The majority of tents sold in the UK are made with a polyester textile, which will have coatings and finishers to make it waterproof and preserve its colour. Where such materials are used it is common practice to use a Hydrostatic Head (HH) rating, which indicates the amount of water pressure the fabric can withstand before it starts to leak. The higher the HH value (measured in millimetres), the more resistant the fabric is to rain.
However, this rating is determined in a lab by holding a tube of water against the fabric and seeing how high the water can go before seeping through, and conditions on a campsite aren’t always that stable.
Cotton tents keep water out in a different way. The cotton fibres in the fabric swell to close-up gaps and keep the rain out. It’s good practice to thoroughly wet a cotton tent before its first use by spraying it with water. This process is known as weathering, and you may need to repeat it if the fabric begins to leak.
This guide will take you through the process of waterproofing your polyester or nylon tent, the products you’ll need, and step-by-step instructions on applying seam and exterior waterproofing. For more help and advice, check out our expert guide on looking after your tent.
How long do tents stay waterproof?
A tent's waterproofing can last for years, but this varies depending on several factors, including the tent's quality, the frequency of camping, the types of weather encountered, and the general maintenance of the tent. Tent fabrics can degrade in strong sunlight or heavy rain, and you may need to reproof more often, while careful maintenance can help extend a tent’s effectiveness.
Signs your tent needs reproofing
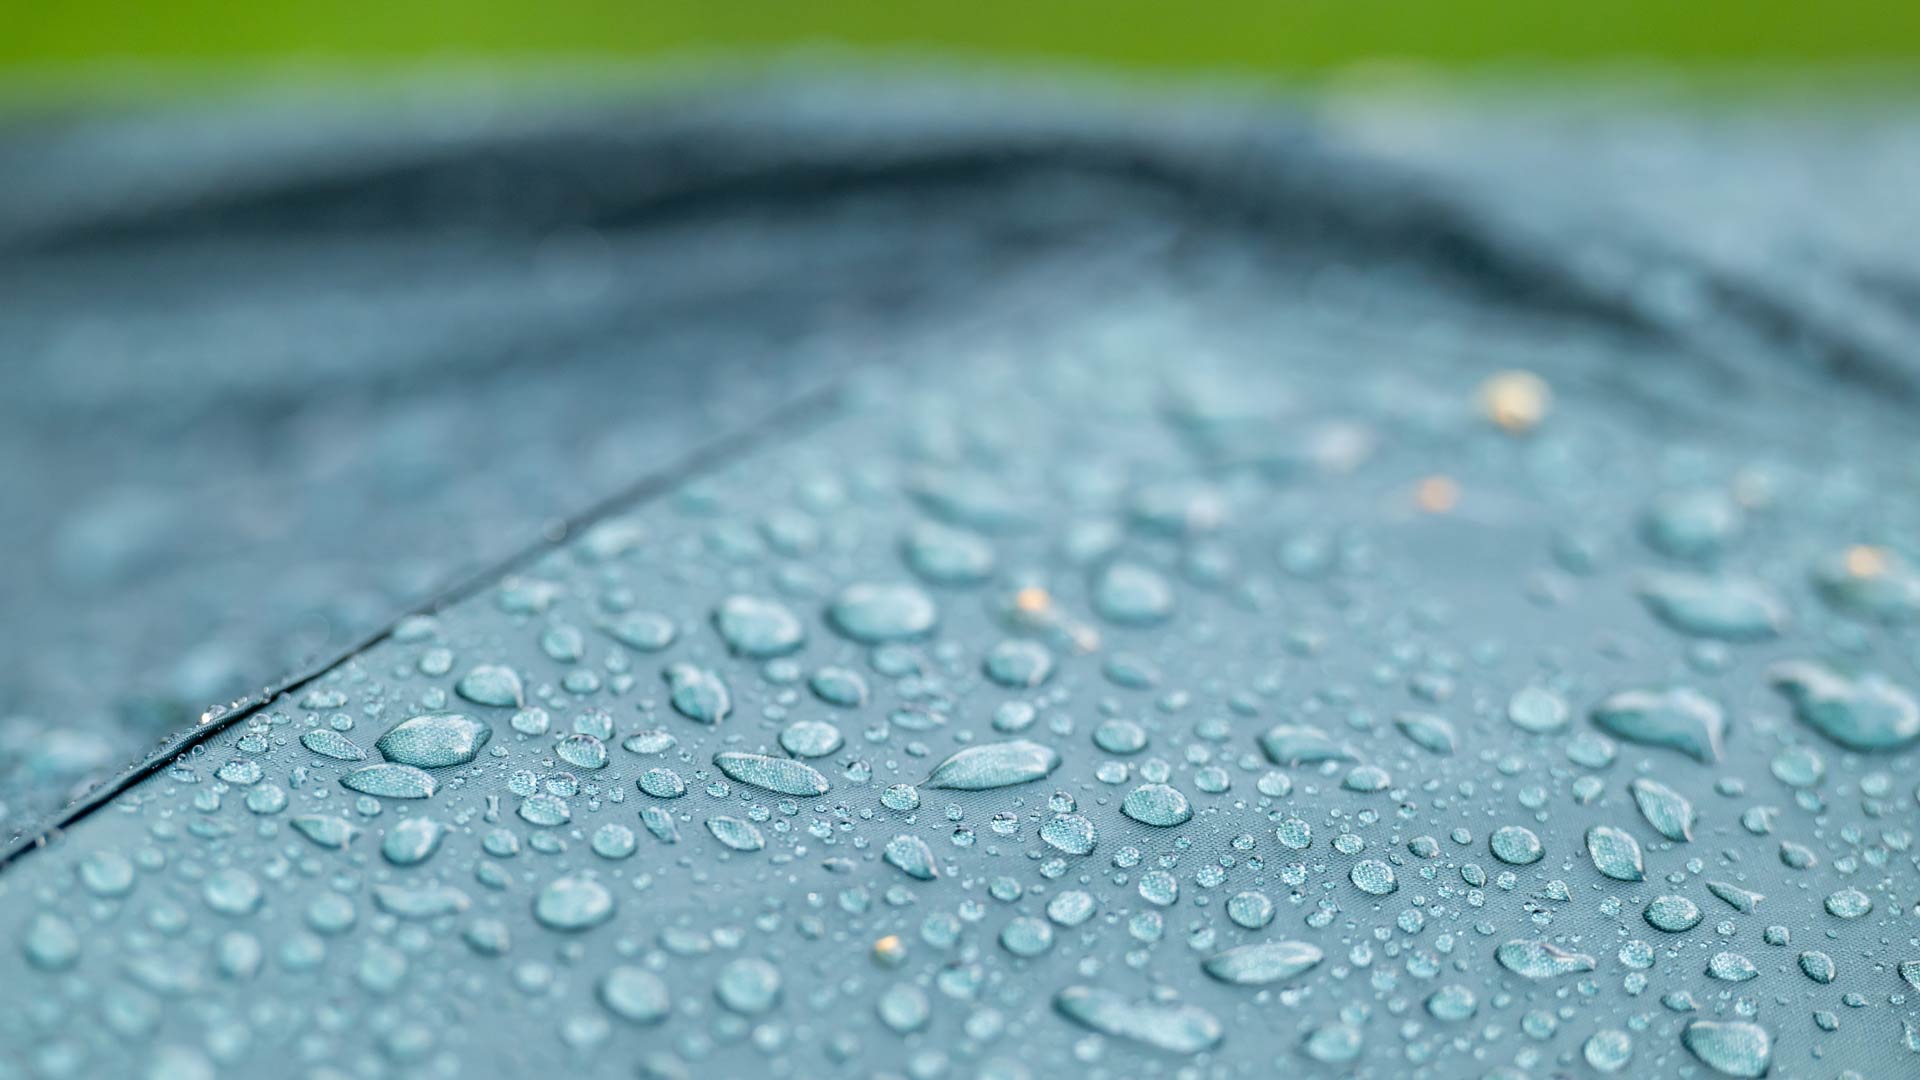
There are several indicators to look out for that suggest your tent's waterproofing is wearing out. On coated polyester or nylon tents, the main indicator is that water no longer beads on the fabric's surface and instead, it soaks in. This is known as wetting out. It’s extremely easy to test if the tent has wetted out, as you can simply pour a glass of water on your tent and observe the impact. Does it bead up and roll off, or does the fabric absorb the water and stay wet? If you have a highly eco-friendly fabric, it’s worth checking if the water has seeped through as these fabrics tend to wet out regardless.
Other signs that your tent needs waterproofing include:
- Seams show peeling or flaking of the original sealant
- The inside of the tent feels stuffy or damp, even with proper ventilation, and without condensation.
How often should you reproof your tent?
How often you reproof depends on usage and exposure. Frequent campers, or those camping in harsh conditions, should check for leaks and, if necessary, reproof their tents every season. Casual campers, or those who mainly camp in mild weather, may only need to reproof once every few years. The key is to stay vigilant and look out for any signs of the waterproof layer wearing down or seams and zips letting water in.
When is the best time to reproof?

The ideal time to reproof your tent is during warm, dry weather. You’ll need a sunny day to pitch your tent and allow it to dry thoroughly between cleaning, sealing and treating. Spring is often the best season for this, as you can refresh your tent after winter storage and prepare it for the upcoming camping season.
Products needed to waterproof a tent
Before you begin waterproofing your tent, check the instructions on any product you are using and make sure you follow them carefully. You're likely to need:
- Tent cleaner: Use a cleaner developed for your tent fabric type, so it gently removes dirt without damaging the fabric, as standard detergents can.
- Seam sealer: Use a silicone or PU-based seam sealer that's appropriate for your tent’s fabric. PU (polyurethane) sealers work best on tents with PU-coated nylon or polyester, while silicone-based sealers are generally better for silicone-coated fabrics.
- Tent waterproofing treatment: You’ll need to purchase the proper treatment for your tent's fabric. Whether it’s a spray or paint, this treatment will help restore the fabric's water-repellent coating.
- Soft sponge or cloth: For gentle cleaning and removing excess product.
- Paint brush: For applying the waterproofing.
- Bucket of lukewarm water: For washing and rinsing.
- Protective gloves: Gloves are strongly recommended for some treatments – check your cleaning or proofing product for details.
How to apply seam sealant
Waterproofing your seam by using a seam sealant is essential, as most leaks occur along the stitching rather than the fabric itself. Applying seam sealant can be a bit fiddly, but the results are worth it. Remember to check the sealant's instructions and follow them carefully, but this is a typical method:
Step 1: Pitch your tent
Correctly pitch your tent and make sure all seams are taut. This will make it easier to apply the seam sealant and make sure it reaches every stitch.
Step 2: Clean the seams
Using a damp sponge, gently clean all the seams to remove any loose old sealant and dirt that could prevent the new sealant from adhering properly.
Step 3: Apply the sealer
With a brush or applicator, apply the seam sealer carefully to the stitching on the inside of the tent. Follow the manufacturer’s instructions and allow the sealer to dry completely before moving on to the next step.
Step 4: Check for missed areas
Inspect your tent thoroughly for any areas you may have missed. Apply additional sealer where needed and allow it to dry completely before packing or using your tent.
How to apply exterior waterproofing
Exterior waterproofing can help restore the tent’s water-repellent coating, helping rainwater bead off the fabric. Always follow the instructions given by the manufacturer of the proofing product, which is likely to include these steps:
Step 1: Clean the tent
Use cleaner specifically designed for the type of fabric in your tent and lukewarm water to clean the tent fabric, then allow it to dry completely. Avoid using harsh detergents, which can further damage the fabric.
Step 2: Apply the waterproofing solution
Spray or paint the waterproofing solution evenly across the flysheet. Work in sections to ensure the tent has even coverage.
Step 3: Wipe off excess
Use a clean cloth to remove any excess product. This prevents streaking and ensures a smooth, even coating.
Step 4: Leave the tent to dry
Allow the tent to dry for 12–24 hours in a shaded, well-ventilated area. Avoid direct sunlight, as it can compromise the effectiveness of certain waterproofing products.
Step 5: Test your waterproofing
Hose down your tent or use a gentle water spray to check its water resistance. If the water beads and runs off, your tent is ready for your next camping holiday.
Tent storage tips for maintaining longevity

A crucial part of taking care of your tent is storing it correctly when it’s not in use. Here are some tips to keep in mind to help extend your tent life.
- After your camping trip, give your tent a quick wipe and remove any dirt, leaves or sand.
- Allow your tent to dry completely before packing it away to prevent mildew.
- If you have space, don't store your tent in its bag. Instead, store it loosely in a cool and dry place.
- Avoid leaving your tent in a place with extreme of temperatures, such as a loft, when it's not in use.