- Advice
- Camping Tips
- Arts and Crafts
Get Creative With These Easy Arts and Crafts Ideas for Kids
If you’re stuck for ideas of things to do indoors, here are 35 arts and crafts ideas for kids of all ages. They’re all easy to do and require items you’ll likely have at home already or things you could easily pick up during the weekly shop.
Easy crafts for kids | Crafts for toddlers | Arts and crafts with paper | Finger painting art | Recycled DIYs
Easy crafts for kids
1. Bead necklaces
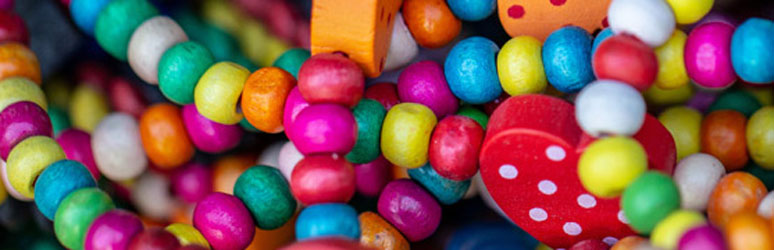
Making bead necklaces is a fun activity, takes minutes and leaves kids with something new to wear and show off.
How to:
All you’ll need for this is some string long enough to make a necklace with and any beads of your choice.
- Measure your string so that it’s the right length to make a necklace.
- Tie a knot in one end of the string so you can add your beads without them falling off.
- Start adding your beads in whatever order you fancy.
- Once you’re happy with the order of the beads, you can tie the two ends of your string together, so it forms a necklace.
2. Pasta necklaces
If you don’t have beads, pasta makes a great alternative. Kids can decorate each piece of pasta with paint, glitter, pompoms or even stickers and use the decorated pasta in place of beads.
3. DIY slime
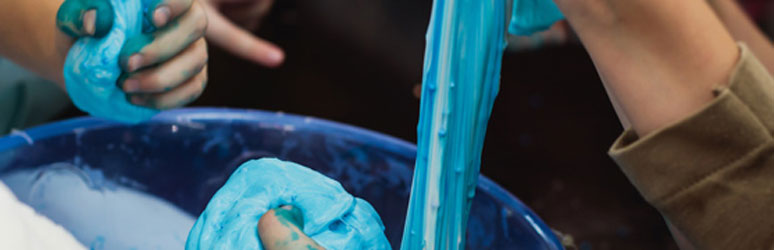
Kids LOVE slime. The sounds, texture and appearance of slime can keep kids entertained for hours. You can make your own at home, follow this guide. All you’ll need is PVA glue, bicarbonate of soda and contact lens solution. Then you can add your optional extras like glitter and food colouring.
Top tip: use an old jam jar to keep your slime in to stop it from getting dirty so quickly.
4. Nature bugs
Spend some time collecting fallen leaves, twigs and other plant life from the garden. Use what you’ve collected to make nature bugs on pieces of paper. Leaves make great bodies while twigs or pieces of fern are perfect for arms and legs. Stick it all down with glue and hang it on the wall to show it off.
5. Make a milk bottle bird feeder
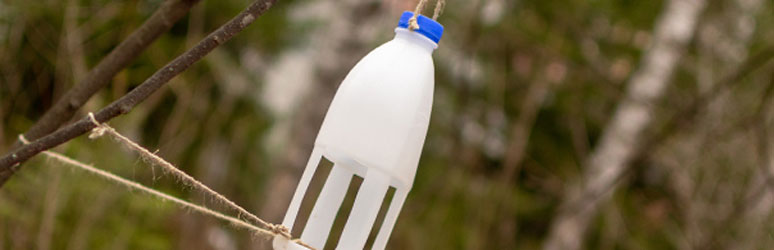
You can make a DIY bird feeder with many household items. This milk-bottle bird feeder is a great way to get kids involved in helping local wildlife.
You’ll need:
- Empty plastic milk bottle with the lid
- Scissors
- String/twine
- Bird food
How to:
- Get a responsible adult to cut a hole in the side of your milk bottle. This should be big enough for the bird to perch on and fit inside.
- Tie a loop in your string or twine to hang from a tree branch. You don’t want your string to be too long because it’ll make the feeder blow around in the wind.
- You can use the bottle top to attach the string to the bottle securely.
- You can decorate the outside of the bottle before hanging it up.
- Pour in your bird food using the hole you cut out (just fill the bottom).
- Hang in a tree, nowhere near the ground, away from predators.
6. Leaf painting
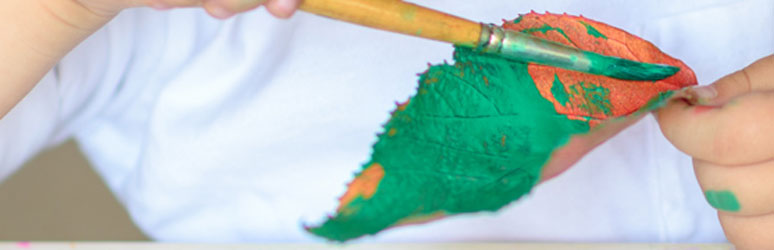
Collect a few fallen leaves from the garden to make a beautiful leaf painting. All you’ll need to do is paint one side of the leaf with any colour paint and press the painted side onto a piece of paper. Once you lift the leaf off, you’ll have a pretty imprint of the leaf and its veins. You can repeat this as many times as you like to make your leaf painting collage.
Arts and crafts for toddlers
7. Tissue Box Monsters- used tissue boxes
Tissue boxes can be turned into fun characters with just paint or felt tips.
How to:
- Paint or colour in the entire outside of the tissue box. Green or purple are great monster colours.
- Draw on spots, stripes, or any pattern kids want.
- Draw on a pair of eyes just above the mouth (the hole where the tissues were) or use googly eyes if you have them.
- Make some pointy teeth out of cardboard or paper and stick around the opening.
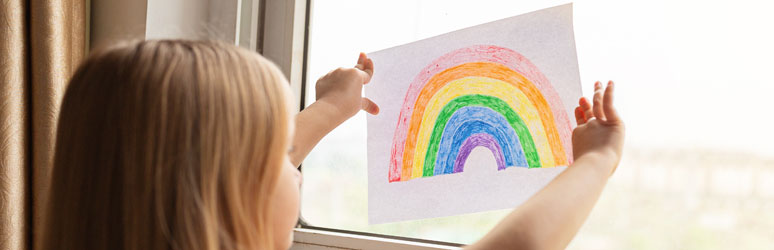
8. Paper rainbows
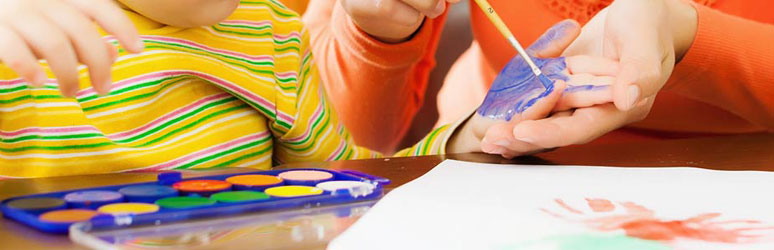
Fill your home with colourful rainbows to brighten up time inside. You can use felt tips, colouring pencils, paint or coloured paper to create your rainbow. Toddlers can use fingers to paint the different colours onto the paper for a sensory bonus.
9. Bubble painting

You’ll need:
- Washing up liquid
- Acrylic/poster paint
- A straw
- Paper
How to:
- Mix a little washing up liquid into some paint in a plastic tub.
- Using a straw, blow air into the paint until a layer of bubbles forms on top.
- Place the paper on top of the bubbles. Once you pull it away, you’ll have a cool bubble design on the sheet.
10. Make your own bubbles and bubble wands
Like slime, kids, especially toddlers, love bubbles! The liquid never seems to last long, but you can make your own (and bubble wand too) at home. Here are some good instructions on how to make bubbles at home.
11. Playdough

Playdough is great fun for toddlers. If you haven’t got any at home, you can make your own following this guide. All you’ll need is flour, water, oil and food colouring.
12. Potato stamps
Potatoes are great for making DIY paint stampers.
How to:
- Take a baked potato and cut it in half.
- Using a sharp knife (adults only), sculpt the potato to form any shape you want.
- You could make a star, heart, square or animal.
- This makeshift stamper can then be covered in paint and used by tiny tots to make a wonderful collage on paper.
13. Apple printing
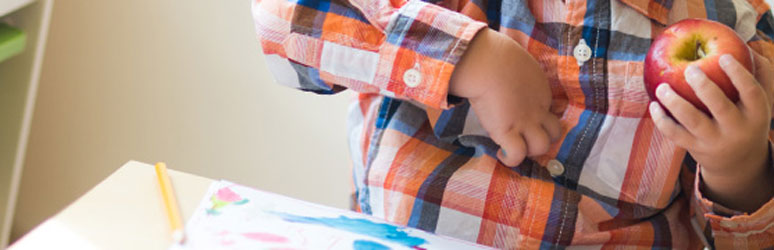
Apple painting is the same as potato painting, but you can get a good effect from just chopping the apple in half and using it to print apple shapes.
14. Make edible paint
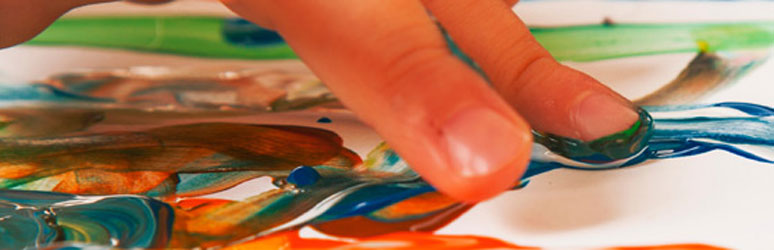
We all know toddlers are going to have more fun sticking their hands in the paint than actually painting so this idea makes for a lot of sensory fun. All you need to do is puree fruits and veggies of your choice. Blueberries, strawberries and kiwis are some good options but experiment and see what you can come up with. You can add a bit of food colouring to enhance the colours or leave them as is.
15. Water gun painting

This kids craft idea is just as easy as it sounds. It’s probably best to make this an outdoor only project. Fill a water gun with paint (water it down if needed), hang up a piece of paper and see what masterpieces your little ones create.
Paper crafts for kids
16. Paper plate jellyfish

Here’s how to make some colourful jellyfish friends.
How to:
- Cut a paper plate in half and paint/colour it the colour you’d like your jellyfish to be.
- Draw or paint on some features like big round eyes and a smile.
- Now it’s time to make the tentacles. You can do this with string or paper. If you’re using string, use a hole punch or pencil to poke a few holes to thread your tentacles through. If you’re making paper tentacles, you can use glue to stick them onto the flat edge of your paper plate.
17. Make a toilet roll flower
Use the cardboard inside of a toilet roll to make a pretty flower you can keep all year round.
How to:
- Paint or colour in the toilet roll middle, it’s best to make I green as this is going to be the stem of your flower.
- Cut two leaf shapes out of a piece of cardboard or paper and glue them to the front of the toilet roll middle.
- Now it’s time to make the flower. Using paper, cut out a flower shape and decorate as you like.
- Cut a slit at the top of your toilet roll middle on either side to slot in the top of the flower.
18. Egg carton turtles
Here’s how to turn your cardboard egg boxes into cute turtles.
How to:
- The first thing you’ll need to do is cut up your egg box into individual shells, so a box of six eggs will give you six turtle shells.
- You then want to paint or colour each shell a shade of green.
- Turtles have two arms and two legs, shaped like flippers and a pointy tail. You’ll need to cut these shapes out of paper, paint or colour them in and stick to the underside of your turtle shell. You can stick your shells onto an A4 piece of paper if it makes it easier.
- After sticking on the arms, legs and tails, you’ll need to create your turtles head. You can use a pompom if you have them or a cotton wool ball. Stick this onto the shell, the opposite end to the tail.
- Use googly eyes or circles of paper to give your turtle a pair of eyes.
19. Paper plate animal masks
Get creative. You could make a tiger, fox or badger…the list goes on.
How to:
- Use a hole punch or pencil to carefully add a hole on either side of your paper plate to feed through string or elastic to secure the mask around your head.
- Cut out your eyes first before decorating the mask. You can do this with scissors.
- You’ll also want a mouth hole so measure on your kids face to make sure you’re cutting it in the correct place.
- Once all of your main features are cut out, you can start decorating. String or straws make great whiskers, and bottle caps can be perfect pig snouts. Get creative with the items you have in the house and see what kids come up with.
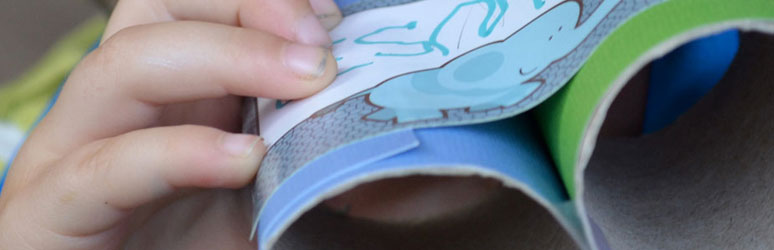
20. Origami bookmarks
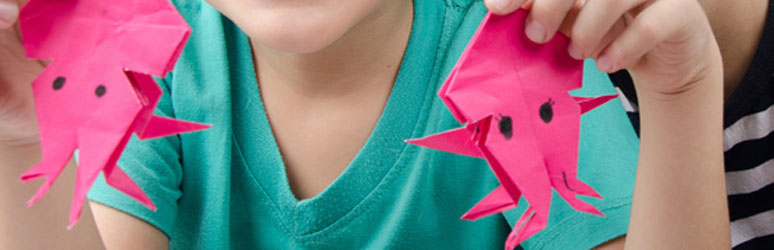
These origami bookmarks are great fun and easy to get the hang of.
21. Paper mache
Paper mache is super easy for kids to do alone and you can make a wide range of different objects with it. You could make a mask, a bowl, a vase or even a space rocket.
All you’ll need to make your paper mache is some PVA glue, water and strips of newspaper. Learn how to make paper mache.
Finger painting ideas
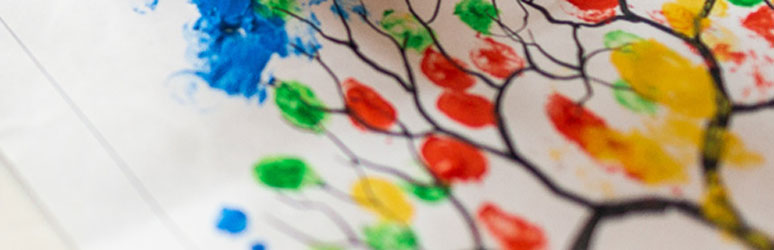
22. Thumbprint family tree
If you’re unable to see family members right now, this is a lovely way to help kids explore their family tree.
How to:
- On a piece of white paper, draw the trunk and branches of a tree, leaving plenty of room around the edges for lots of fingerprints.
- Let kids colour in the tree trunk any colour they want.
- The leaves on your tree are going to be each member of your family. To make the leaves, kids can dip their thumbs in green paint and print onto the branches of your tree.
- Once all of your leaves are in place and dry, you can go ahead and label each leaf as a member of the family.
- Hang your finished family tree in the house for everyone to see
23. Paper plate rainbow fish
Use your fingers to give your paper plate fish some beautiful rainbow scales.
How to:
- Cut a triangle out of your paper plate to give your fish a mouth.
- Taking the triangle, you cut out, stick it to the opposite end of the plate to make a tail, pointy edge facing in.
- Now you have the shape of your fish, and you can start decorating.
- Set out a selection of paints in any colours you like.
- Kids can then use their fingers to paint on the fish’s colourful scales.
- Once the paints dry, draw on a pair of eyes and your rainbow fish is complete.
24. Birds
Kids can use their fingers to make peacocks or colourful turkeys. All you need to do is draw the bird’s face and legs in the middle of a sheet of white paper and kids can finger paint around that to bring their bird to life.
25. Handprint giraffe
These finger paint giraffes are great fun.
How to:
- Kids should cover their palms and fingers with yellow paint and then place them onto a white piece of paper.
- Once their yellow handprint is dry, turn the paper, so the fingers are facing down. This gives you the giraffes body, legs and tail.
- Next, you’ll need to make a long neck and head. Use the side of the hand to make the neck and a big thumbprint for the head.
- Use brown paint and fingers to create your giraffes’ spotty pattern.
26. Hedgehog handprints
Draw the outline of a hedgehog on a piece of paper, giving it a face with eyes, a nose and smile. You can then use brown paint to place handprints on the body, with the fingers facing upwards to make the spikes.
27. Fingerprint flowers
Make a pretty flower garden to hang in your house.
How to:
- On a piece of white paper draw as many flower stems and leaves as you like.
- You’ll then dip your finger in coloured paint and use your fingerprints to make petals at the top of the stems you’ve drawn.
- You can use your little finger dipped in yellow paint to make the middle of each flower.
Recycled DIYs
28. Plastic bottle flowers
The bottom of a plastic bottle makes a great flower, here’s a fun way to recycle yours.
How to:
- Use a pair of scissors to cut the bottom off your plastic bottle.
- Paint and decorate the bottom of your bottle to make it look like a colourful flower.
- Attach the top of your flower to a lollypop stick or straw to make the stem.
- You can then cut out some leaves and stick them onto the stem to finish off your flower.
29. Tin can plant pots
Use your empty tin cans to make plant pots kids can decorate.
- Adults should clean the tin cans and make sure there are no sharp edges.
- Then you’ll need to carefully add some holes to the bottom of each tin so excess water can drain out.
- Kids can decorate the outside of the tin with paint, pompoms, glitter, googly eyes and anything else you have to hand.
- You can then fill the tins with soil and plant your pretty flower seeds.
- Leave your tins in a warm, sunny spot and water regularly.
30. DIY toilet roll binoculars
This craft is the perfect arts and craft project for little explorers.
How to:
- Staple two toilet roll middles together length ways to form your binoculars.
- Punch a hole through the ends of the toilet rolls so you can thread a ribbon through the outside to make a neck strap.
- Let kids decorate their new binoculars. They could paint them, use stickers, cover in foil or just leave them as they are. Go out into the garden and ask your child to tell you what he/she can spot using their binoculars.
31. Jam jar lid banjo
Have a little musical fun with this easy kids' craft idea. All you’ll need is a jam jar lid, an assortment of elastic bands and some cardboard.
How to:
- Make sure your jar lid is clean.
- Take your elastic bands and stretch them around the jar lid. You’ll want them to be a tight fit, so they don’t come off. You can super glue them in place if needed.
- To make a mini handle, cut a strip of cardboard, sticking it onto the back of the jam jar lid.
- Let kids decorate their mini banjo and see how much fun can be had with a makeshift instrument.
32. Cork painting
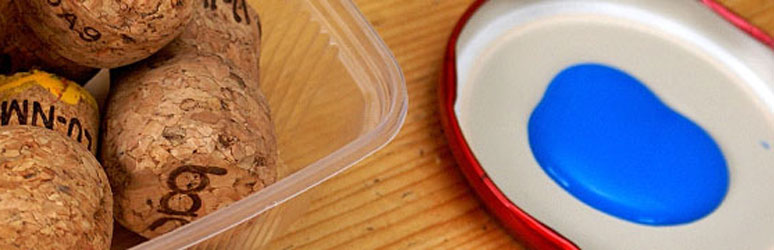
Don’t throw the corks from wine bottles away; kids can use them when painting. They’re great for making spots, flower leaves and caterpillar bodies.
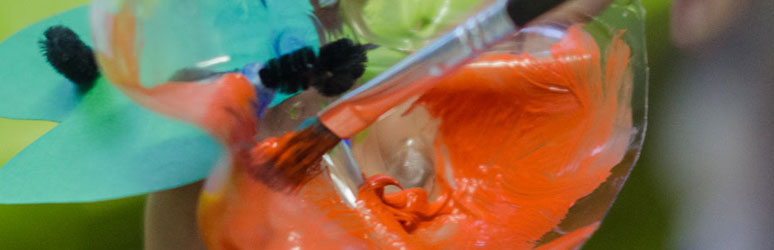
33. Cork butterfly’s
Use corks to form the bodies of butterflies in this easy craft for kids.
How to:
- The first thing you need to do is give your butterfly some eyes and a smiley face. Use googly eyes or felt tip to draw on the features.
- Now your butterfly needs wings. Using paper, cut out two wing shapes which you’ll then stick onto the cork. You can decorate them with paint, glitter and any other craft supplies you have.
- Don’t forget to give your butterfly some antenna. Pipe cleaners, straws and spaghetti can all work for this.
34. Jar lid memory game
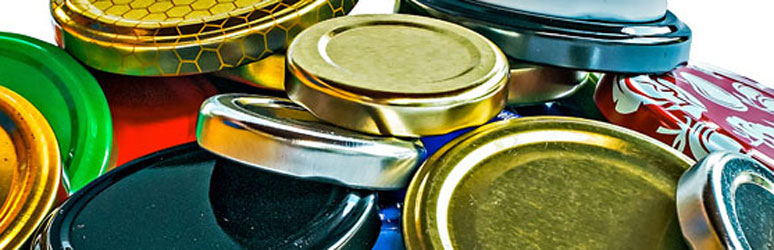
Collect your used jar lids to recycle them into a fun memory game for kids.
How to:
- You’ll need an even number of jar lids, so they’re in pairs. The more lids, the longer the game.
- Lay the lids out in pairs. You’ll want to decorate the inside of each lid with the same pattern or picture. You could do shapes, animals, faces or letters. Felt tip or paint is great for this.
- Once you’ve got all of your lids decorated, you’re ready to play the game.
- Lay all of the lids in front of you, so the shapes you’ve created are facing down. Turn the first lid over and see if you can pick the lid with the matching design to turn over. If not, turn them back over and try again. See how long it takes to match all of the lids into their pairs.
35. Bottle top wind chime
Make a wind chime for the garden using items you’d usually put in the recycling bin.
How to:
- You’ll want to find a good-sized stick in the garden. The stick is what you’re going to hang your bottle tops from.
- You’ll need to put holes in the middle of each of your bottle tops (get an adult to help with this).
- Start by securing lengths of string tightly around your stick.
- Thread your bottle tops onto the pieces of string. You can have more than one bottle top dangling on the same string, just tie a knot after each one to stop it sliding down.
- Once you’ve added bottle tops on strings along the length of your stick, you can hang it in a tree using another string to secure it to a branch.
Hopefully, this has sparked some creativity and given you plenty of arts and crafts ideas to do with kids at home.